
I have done some hand embroidery and quite enjoyed it. I have embroidered a couple of tees, and liked the effect but it was clearly hand sewn and quite rustic. I have been looking at embroidery machines for some time, thinking I would use this for adding personalisation or monogrammes to my makes. Finally, after lots of research and huge amounts of dithering, as this is an expensive buy, I decided to go for it and purchased a Singer EM200.

This machine is only for embroidery, you cannot do normal sewing on it. It comes with two hoops, one bigger than the other, and has quite a long bed so it takes up a lot of space! It comes with some designs loaded onto the machine, plus a USB stick with more designs on. You can also use the included software on a windows PC to create your own designs. This is something I would love to do, but I am taking it slow and starting with the simpler designs, using the alphabet fonts.
I started by embroidering my name on some scrap fabric and I was really impressed with how simple it was to set up – I had it up and running in no time. I chose the wrong colour thread really, the pale pink doesn’t show up very well, but I was pretty impressed with this as a first effort.


After that test run, I decided to make myself a zip up pouch and monogrammed it with my initial. I was pretty happy with this, but felt it was a bit too square – I made it this size so it would fit in the smallest embroidery hoop, but it’s too big, and the text itself is too small. But it looks pretty professional so I was happy enough.


Then I made some Christmas gifts. I used some Joules fat quarters from Hobbycraft. I amended my zip up pouch pattern to be smaller, and I rotated the text so it would embroider sideways, meaning I didn’t need the pouch to be so high. I was really pleased with these. I did one in the “Arial” type font and one using the “Script” font, and was surprised that actually I prefer the script on this occasion. And I wonder if I need stronger stabiliser as the fabric has pulled slightly, and you can see it because of the stripes on the fabric. But I was pleased with them, and felt they were good enough to gift.

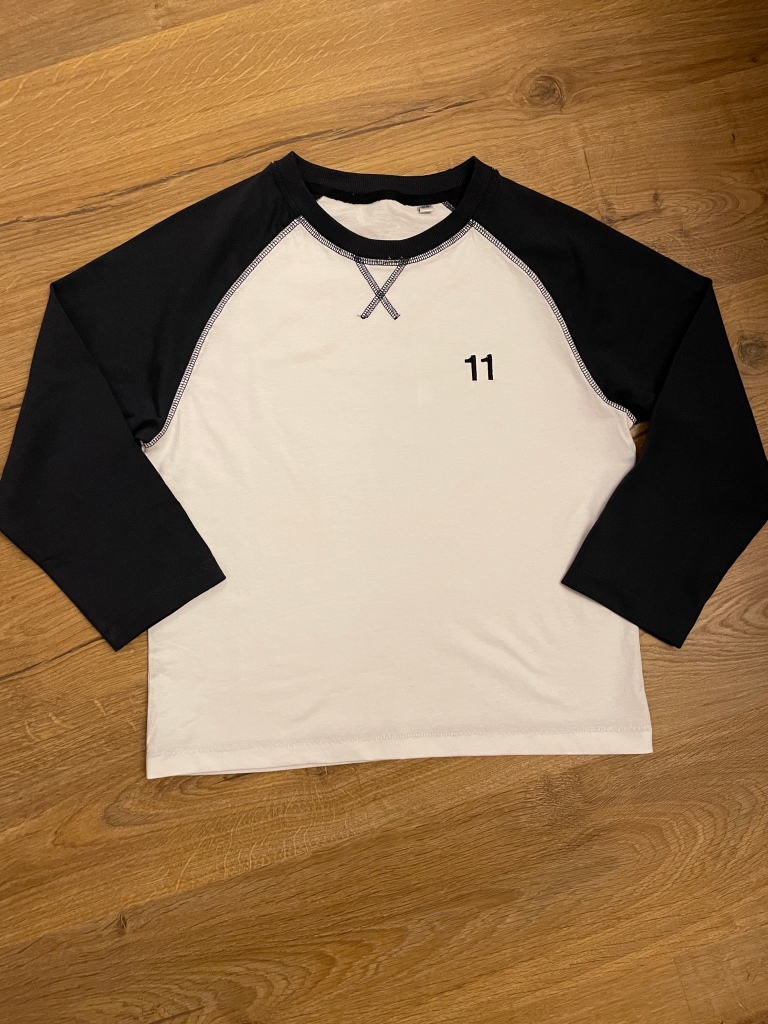
So the next challenge was to embroider on a t-shirt, as this is something I am keen to do with my machine. NSPCC number day is coming up and my son’s school have asked children to wear something with numbers on. My son doesn’t have anything so I got one of his plain t-shirts and embroidered a number on it. Before I did it, I tested it on one of the tees he doesn’t wear (I made this one for him, but he says the print is too babyish for him – despite it being his choice ! Grrrr!). My son chose the number 11 as that is his age.
For the first attempt, I decided to go big. I increased the size by 25% and set it off. It looked terrible. It was black thread on a white tee and you could see the rough edges and a slight gap. So I tried again with no magnification and it still wasn’t great, certainly not as good as the previous text I had embroidered. So I decided to reduce the size in order to improve the quality, and thankfully that worked, so I could move on to the final garment.


I had wondered if it would be tricky to embroider on a garment that was already assembled, and while it took a bit more effort than using flat pieces of fabric, it was not a problem at all. I used a tear off stabiliser that was recommended for knit fabrics, and was happy with how it worked.
What I have found is that it doesn’t embroider in the centre of the hoop, which is a bit disappointing. You have to move the start point around to get it more centred but I was doing it by eye so it didn’t feel very precise. I don’t know if there is a technique to this!
So first impressions are favourable – it has done what I wanted it to do. The next stage is to try some embroidery designs with multiple colours, and then I want to have a go at designing my own. I would love to be able to embroider my SewMiniGems logo!
Watch this space for more embroidery experiments!
Happy Sewing! Gemma x
