
I have been planning to make a coat in 2021. I bought the Sew Over It 1960s Coat pattern, and some checked coat fabric from Minerva early last year and have put off starting as it was a daunting project. I knew it was going to be challenging to pattern match checks, so I bought double the amount I needed to give myself plenty to play with, but I still couldn’t quite bring myself to start.
In November 2021 I posted a photo of a tee I had made on instagram and in the caption I mentioned that I was in the procrastination stage of the coat making project and I got a great response from the friends I made doing “JeansJanuary” last year – they suggested we do a sew along together, along the lines of JeansJanuary but this time we would call it JacketJanuary. We agreed to start in early January, and we would have weekly zoom calls to share progress and discuss any issues that came up. There is a hashtag on instagram “SewingFriendsAreTheBest” and I have to wholeheartedly agree!
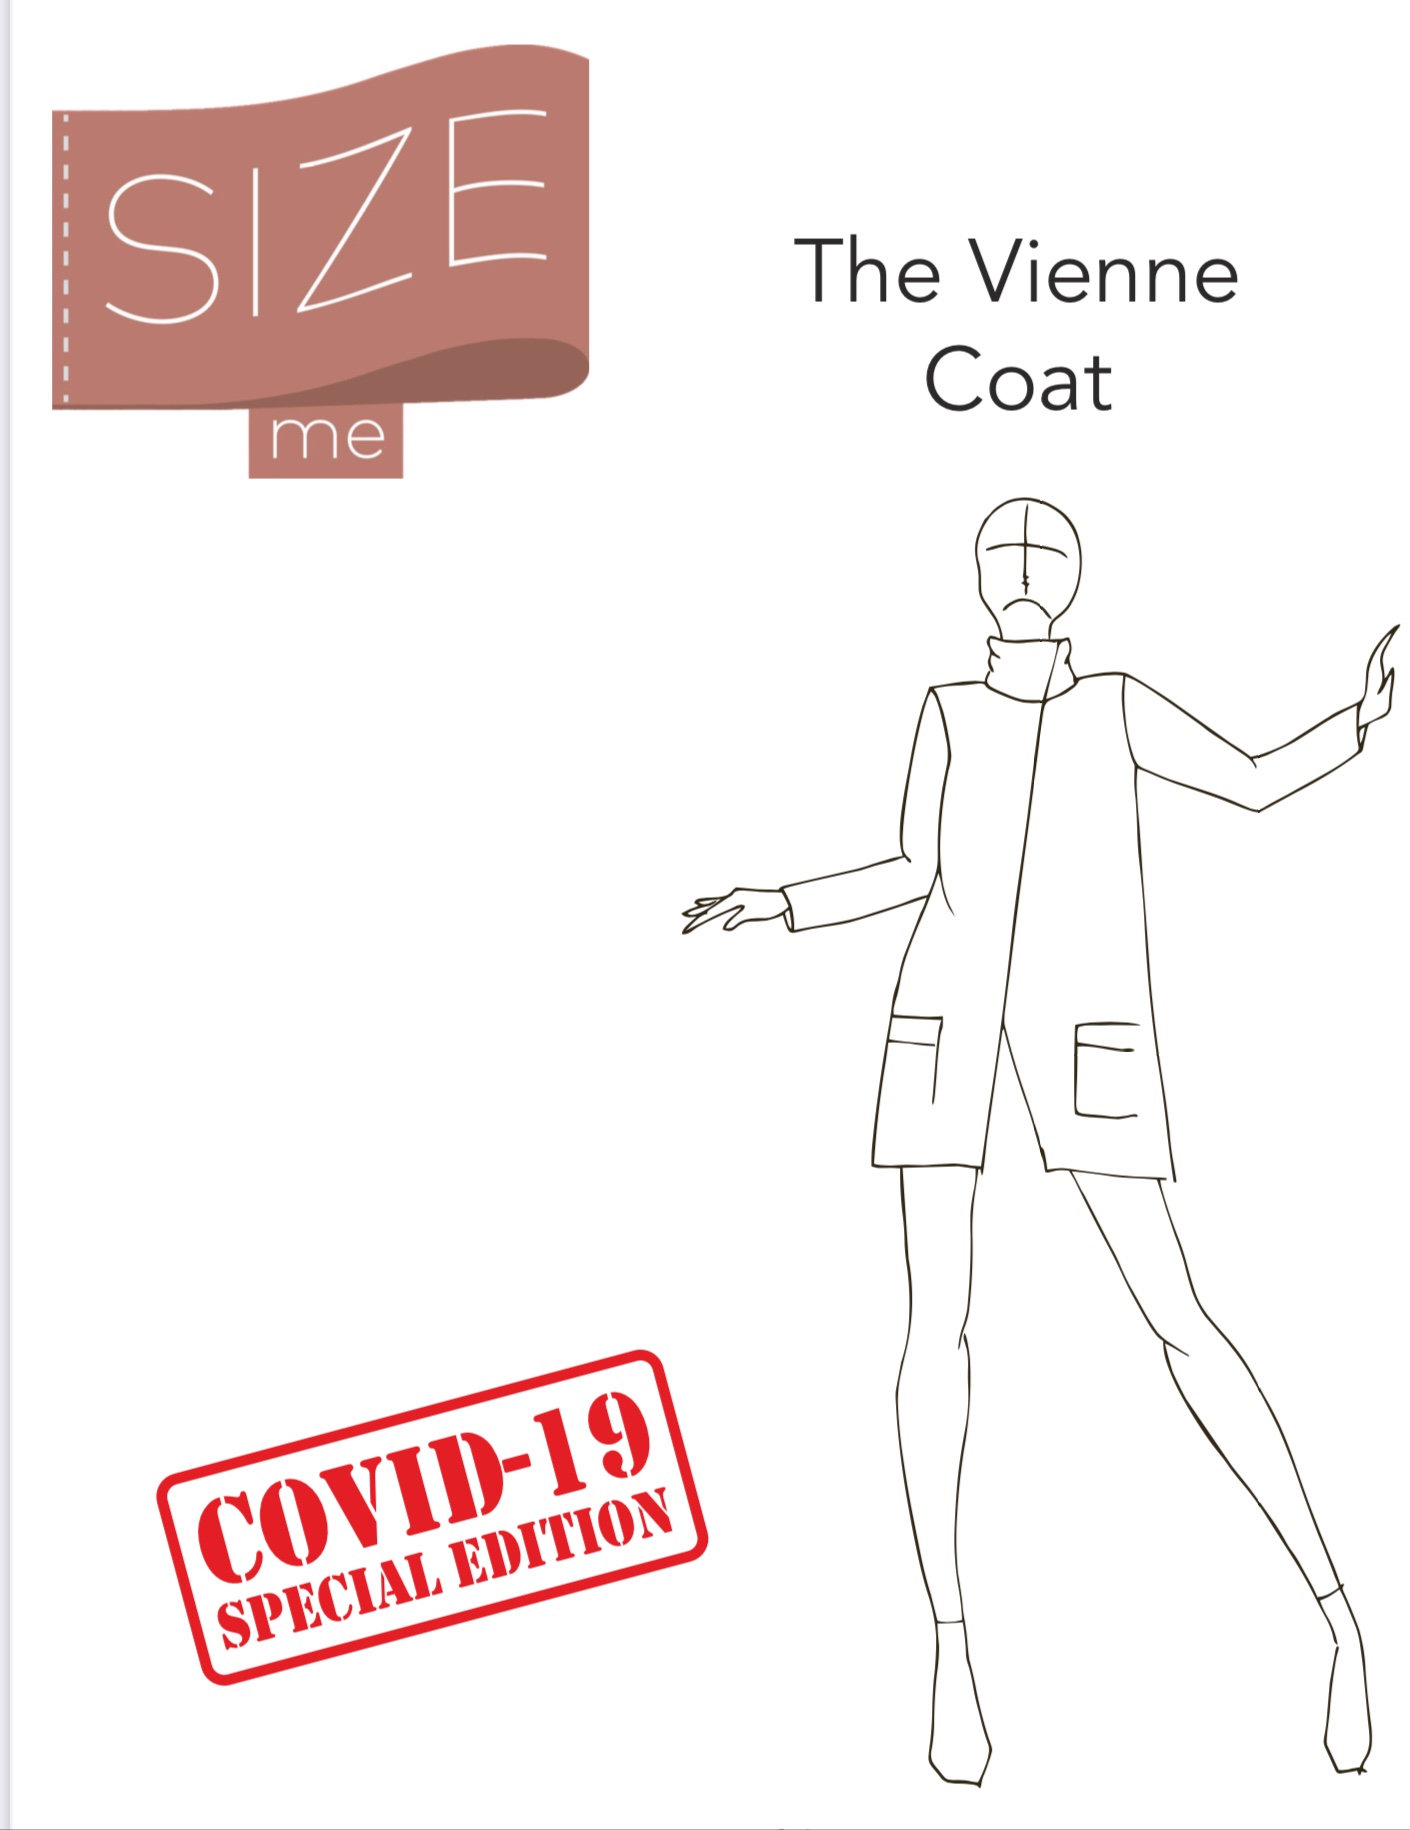
I had already made a toile of the 1960s coat by this time, and at this point it became clear to me why there are hardly any checked coats on the 1960s coat hashtag – it is not just side seams and a centre back seam, there are side panels which means there are actually 5 seams around the body that need to be pattern matched, plus the double breasted front of course. I began to feel that this was going to be impossible to match so I decided to look at other coat patterns. If you are a regular on my blog or insta account you will know that I love the Vienne dress from Size Me Sewing, so I had a look at the Vienne coat and felt that might be a better option for me. The back is one piece cut on the fold, so there are only the two side seams and the front to pattern match. Plus I had confidence that the instructions would be very clear, and accompanied by a video tutorial. I decided to go for it, so I ordered the pattern and then sat back to enjoy the Christmas period.


I decided to make some changes to the pattern. If you look at the picture, you will see that the front is diagonal, but I didn’t like that – too many memories of poorly fitting RTW clothes that fit me around the shoulders but not around the hips. So I decided to straighten the front seams. That meant amending four pattern pieces – the front, front lining, front facing and bottom hem facing. I did this and made a toile. It was ok, but I saw that the sleeves were rather too long so I modified the pattern to take out 2.5cm of length.
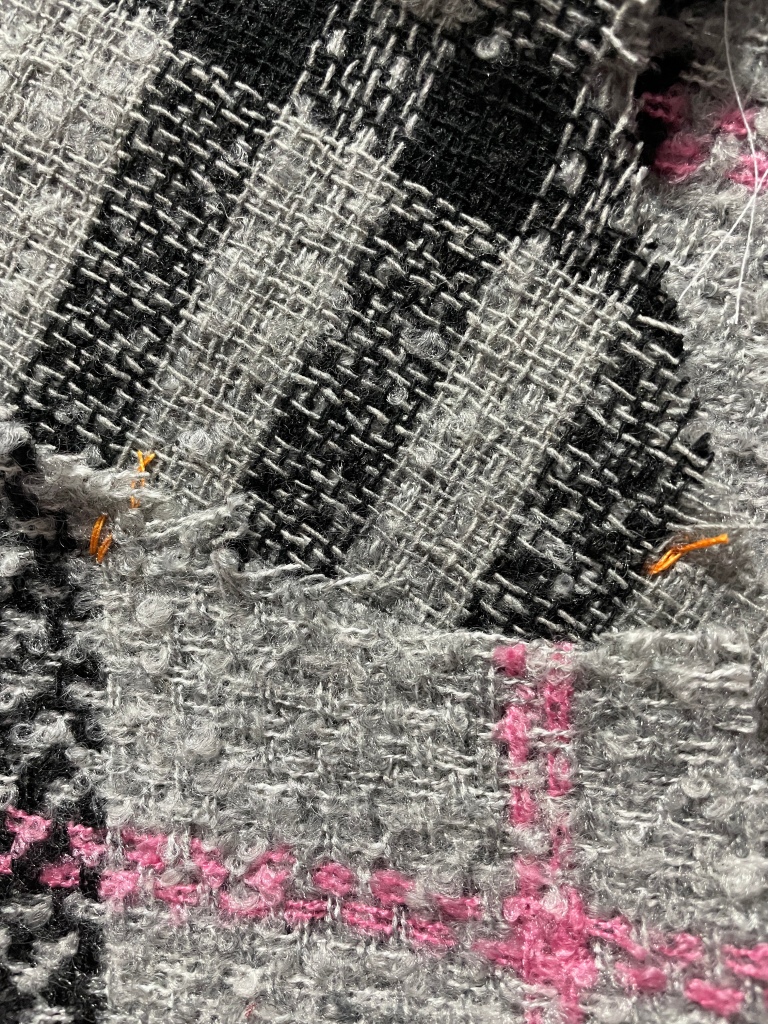
Cutting out was a really daunting task as the pattern matching is make or break at this point. I was really careful the match up across the front initially, then I cut the back and the facings to match those pieces. There are patch pockets so I made sure I knew how they were assembled so that I could work out how to match the pattern on those so that they are (almost) invisible. Watching the video at the start of the process really helped with that, I am a visual learner so this makes a huge amount of difference to me.


I found that the fabric frayed a lot as i was cutting it. I wanted to overlock the pieces before I started handling them and sewing them up but was concerned about locating the notches, as none of my marking tools work on this fabric. My JacketJanuary sewing friends suggested I sew on the notches in a contrast thread, and this worked really well.
I also interfaced a section at the bottom of the pattern pieces, around the shoulder seams and across the back. This was because the fabric was rather mobile, and I wanted it to be nice and crisp once made. I had seen on the 1960s coat that there was a lot of interfacing so I used that as inspiration. And the JacketJanuary sewing support team concurred that this was the way to go.
Once I had assembled the body of the coat, I started to wonder about adding a belt. Again I consulted the sewing support team and decided to add belt loops and a belt – I could always cut the loops back off if I decided it didn’t work.
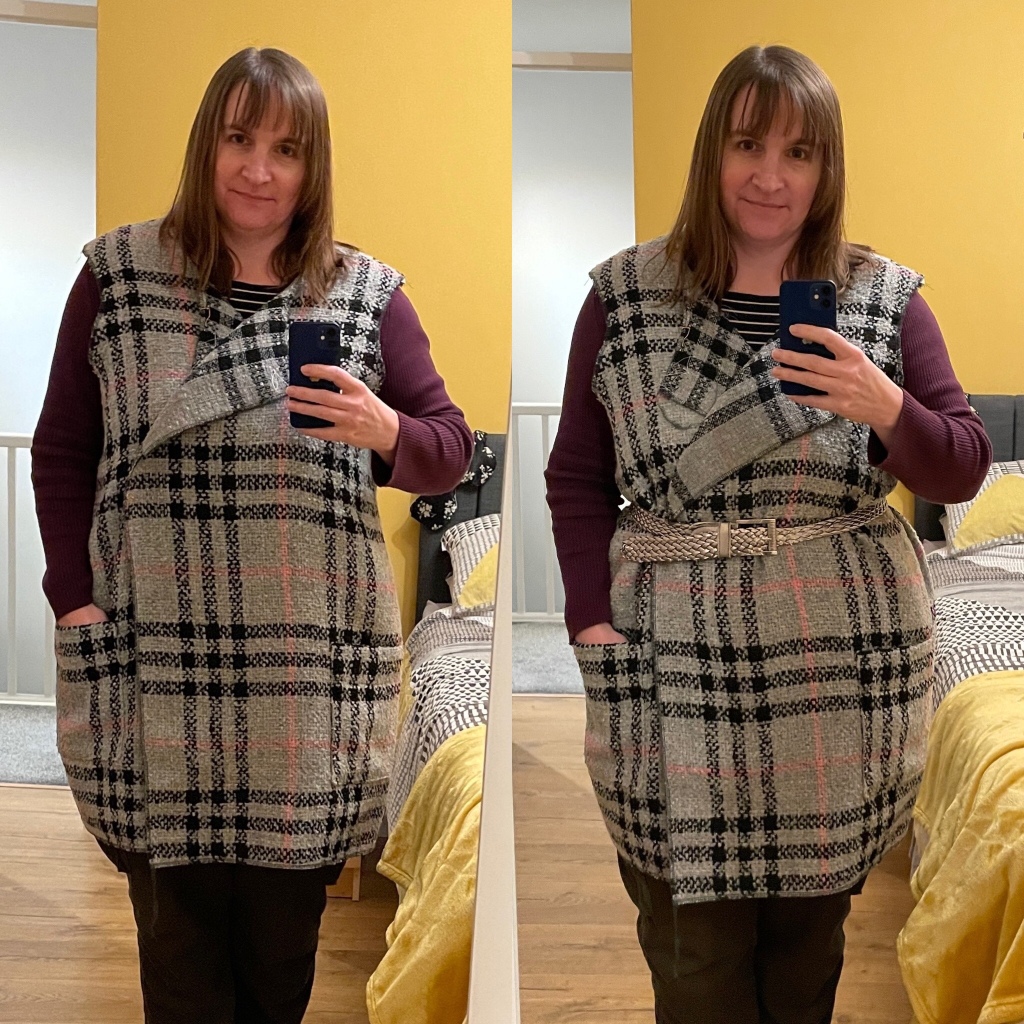
Another change I made based on the 1960s coat was to add shoulder pads and wadding around the shoulder seam. I felt that it makes a difference to how it sits on my shoulder, without being obviously an ‘80s power jacket of course! In the photo below, there is a shoulder pad in one side only and I think it sits better.
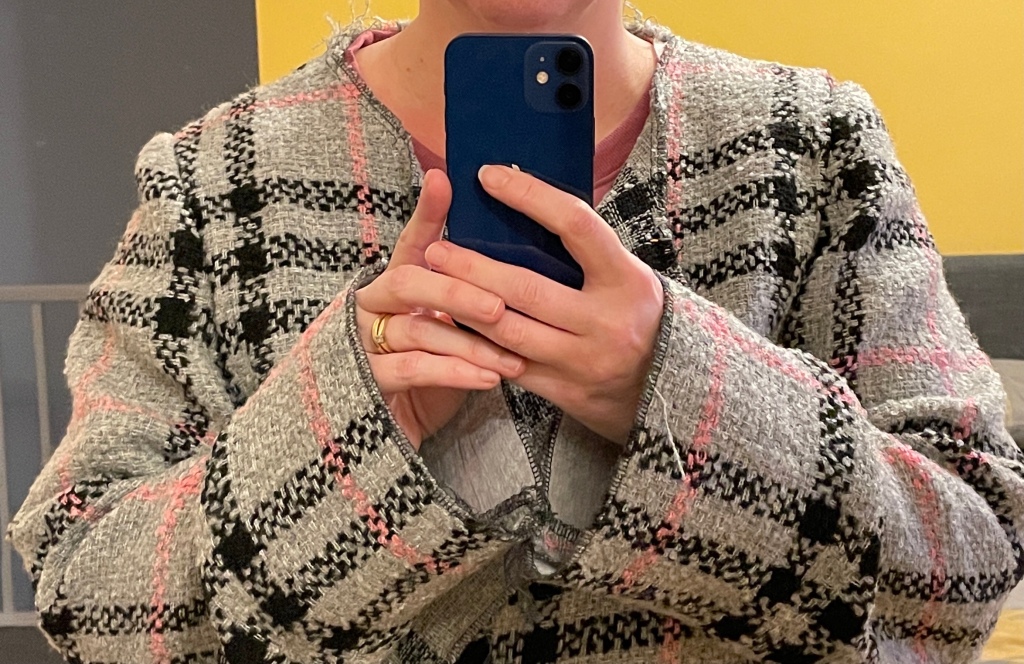
I did find that the sleeves were still too long despite taking 2.5cm out of the pattern. My mistake there was not retoiling the sleeves! So I took another 5cm off the length, and then had to slightly narrow the lining pieces to ensure that the lining and sleeves were the same width to be sewn together.

Assembling the outer and lining went really smoothly, and that moment when you turn the coat through and everything looks just right is priceless!
But I am going to leave you in suspense at this point – the big reveal is coming up in the next blog post! Watch this space!
Happy Sewing. Gemma x

2 thoughts on “Vienne Coat – Part 1: The Process”