
It’s been a while since I last posted a blog, and in that time I have been working on the Carolyn Pajamas from Closet Core patterns. I started tracing off the pattern in early March, and now it’s coming to the end of May and I have only just finished them. It has been a big project for sure, but let’s also recognise the fact that the world has very much opened back up post Covid now and in the past few months we have had a number of weekends away, which meant zero sewing, and I rarely have the time to sew during the week.

The Carolyn Pajamas pattern and the checked brushed cotton fabric were a gift from my husband at Christmas this year. It’s not a pattern I would have purchased for myself. I was aware of the Carolyn Pajamas from Instagram but it always seemed a lot of work for something you would wear to bed. And then add in the complexity of matching checked fabric? No, thank you. But my husband gifted it to me, so I had to give it a go.
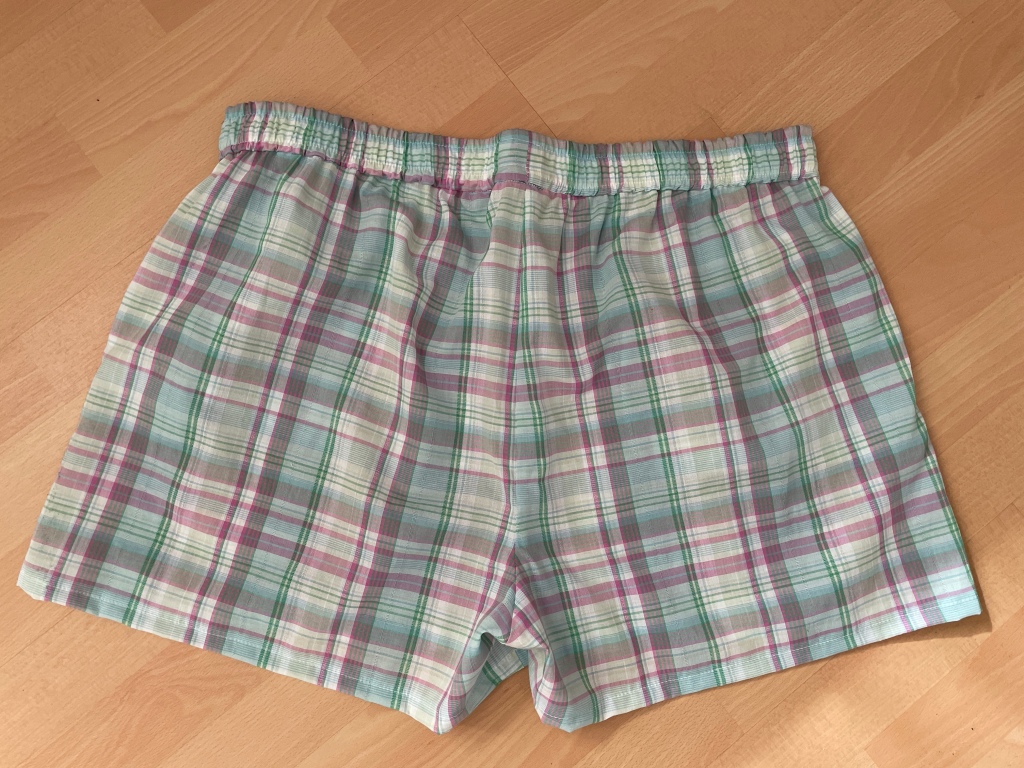
As I had a paper pattern, I first needed to trace it and I was dismayed to see quite how many different pattern pieces there are in this pattern. There are many options you see, you can make trousers or shorts, and you can make either long or short sleeved top. I started with the shorts as I wanted to make a wearable toile to get the fit right. My hip measurement was slightly bigger than the largest size in the pattern so I knew I would have to add in a little extra size, and I also needed to add some extra space for my crotch measurement. So I went ahead and made the adjustments to the pattern, and cut them out using some cotton lawn from Jenny Stitches. I didn’t bother with the piping and cuffs on this version, I just extended the leg length a little. I followed the pattern instructions, getting my head around pattern matching the pockets, and adding in the faux fly (which I decided added no value whatsoever to the garment and didn’t bother with it in any of the subsequent versions). They came together well; I was happy with them and have worn them to bed in comfort.
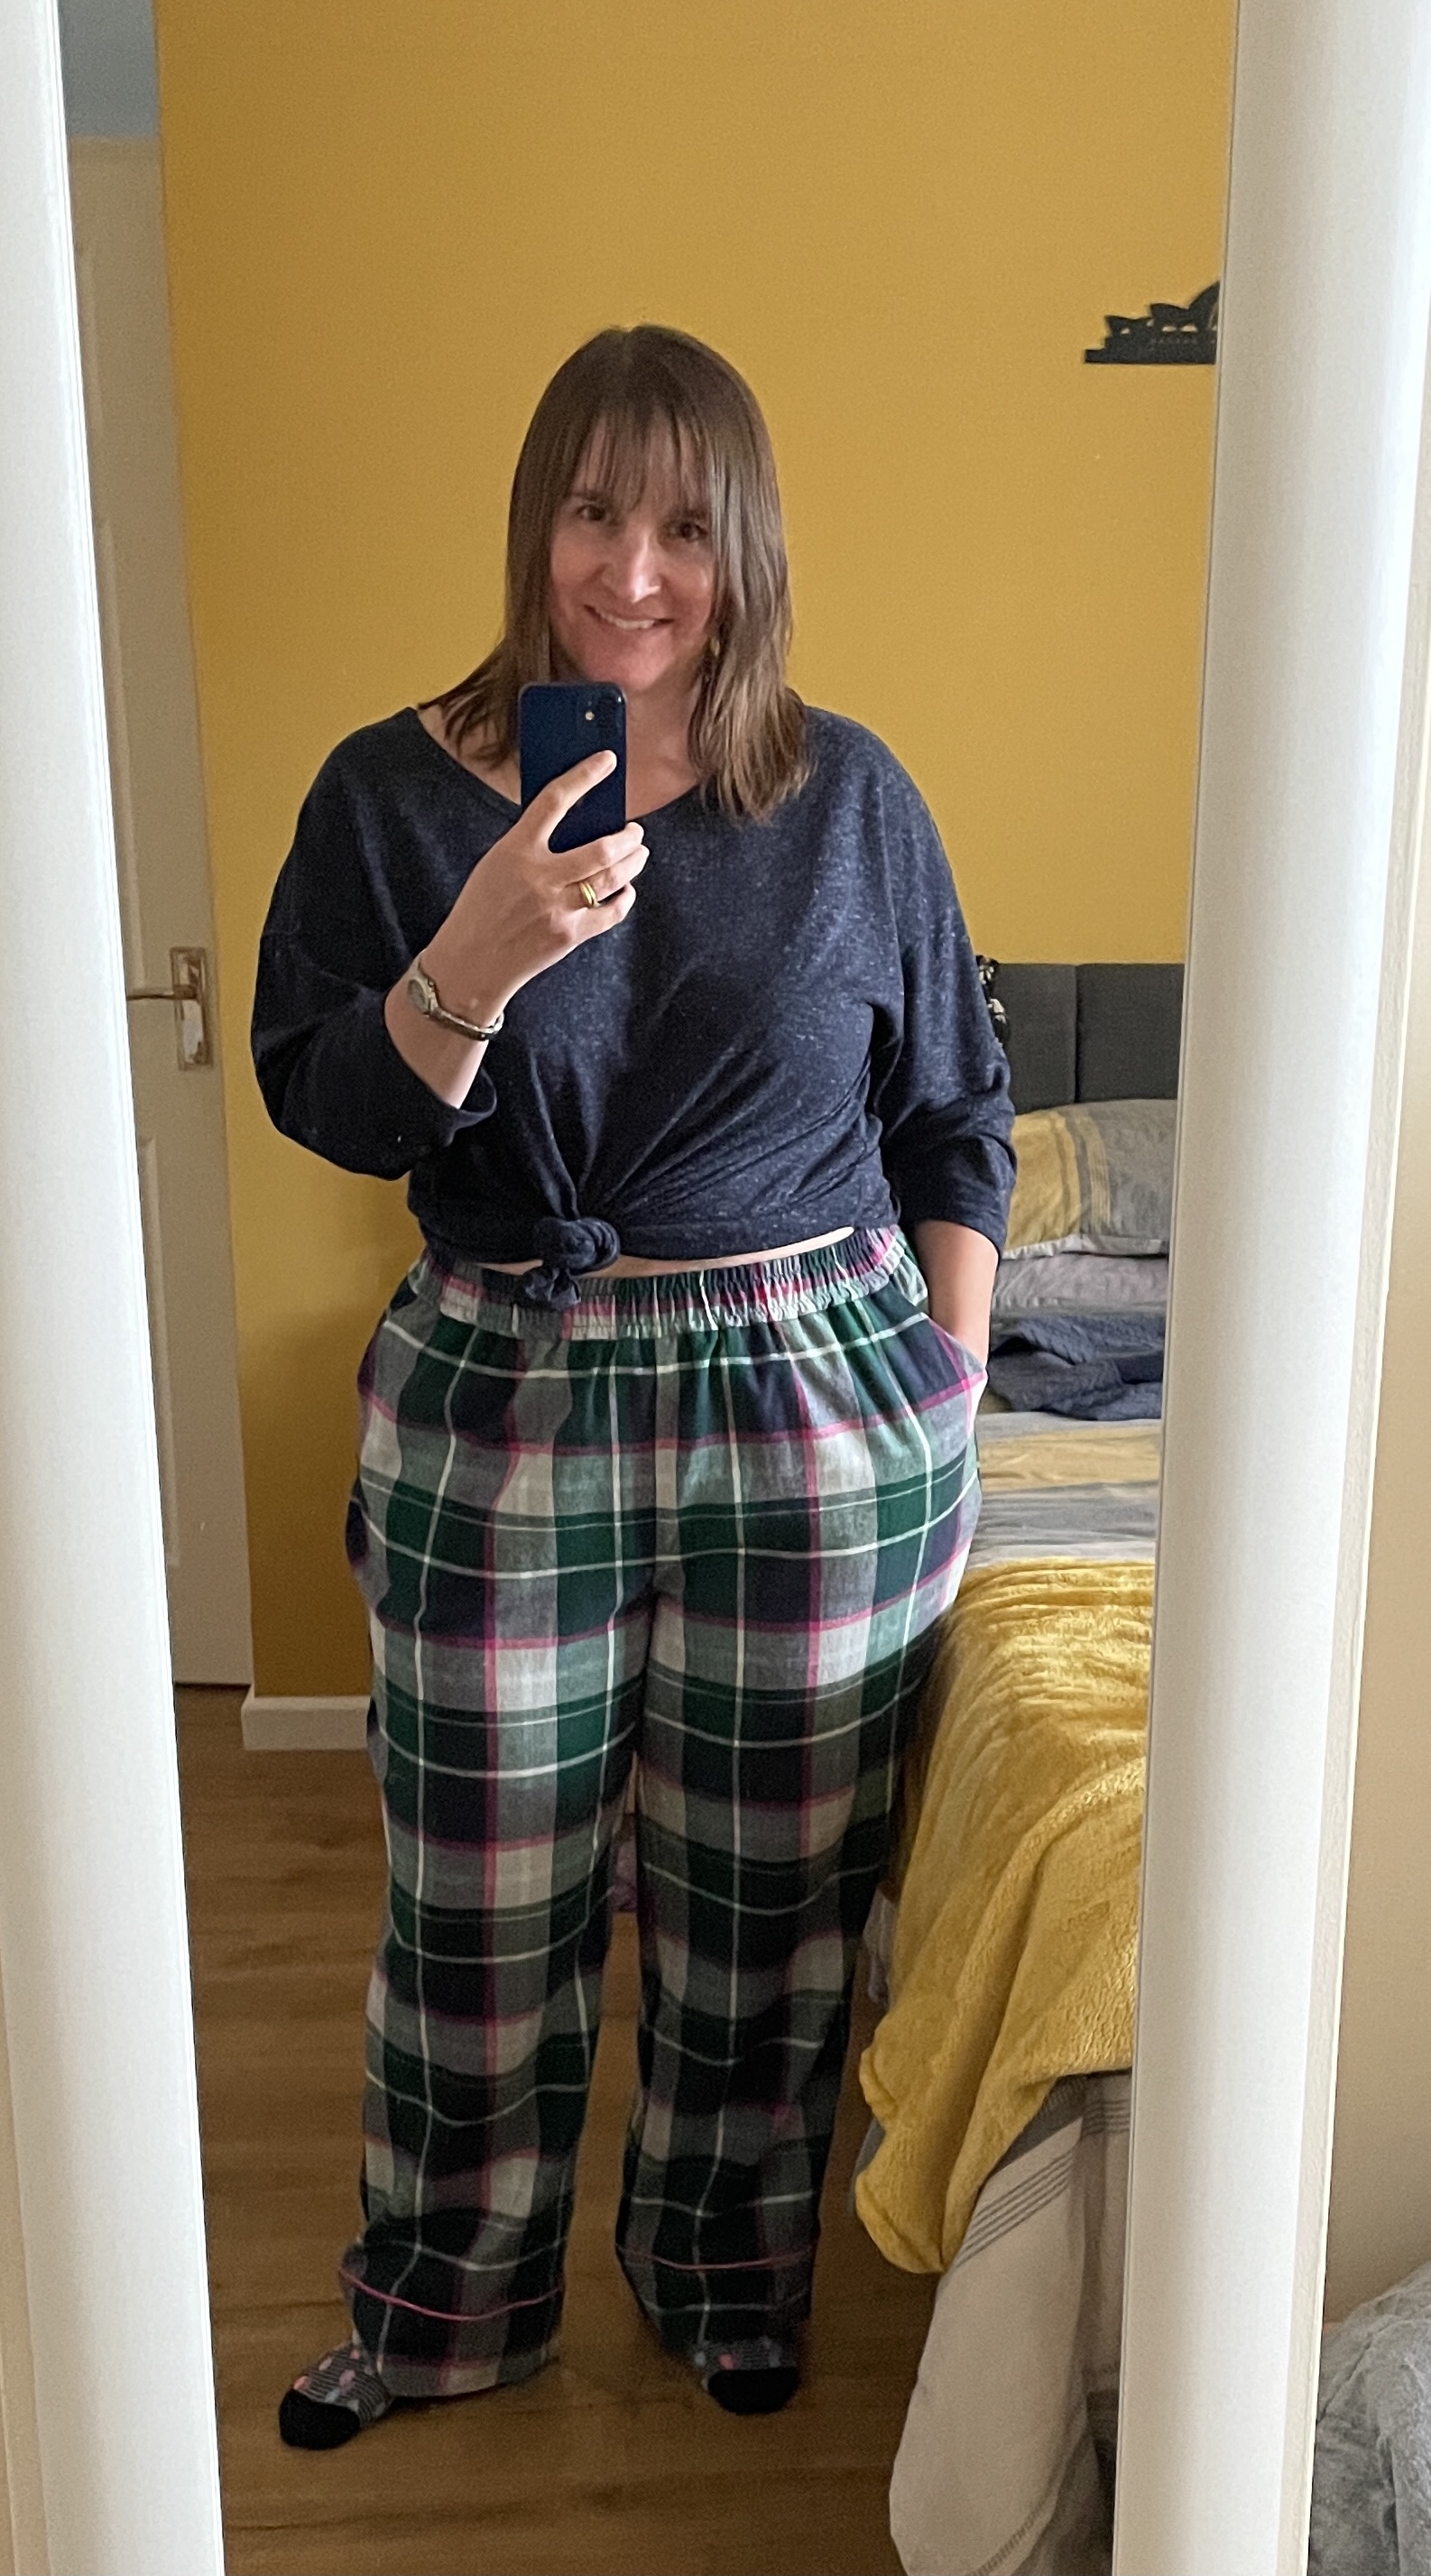
I then moved onto the main event – cutting into the brushed cotton fabric. I started with the trousers. As mentioned, I dropped the faux fly. There were separate pattern pieces for the waistband on the shorts from the pants but I couldn’t really understand why so I just used my traced off piece from the shorts. I transferred the adjustments I had made to the shorts pattern to the pants pattern pieces, and took care on pattern matching of course because the success or failure of that is defined at the cutting out stage. I also traced off and cut out the Pajama top pieces – again I was surprised at how many pieces there were, having never made a button up top before. Let me tell you, cutting out this pattern (which is always my least favourite part of the process) took an age.
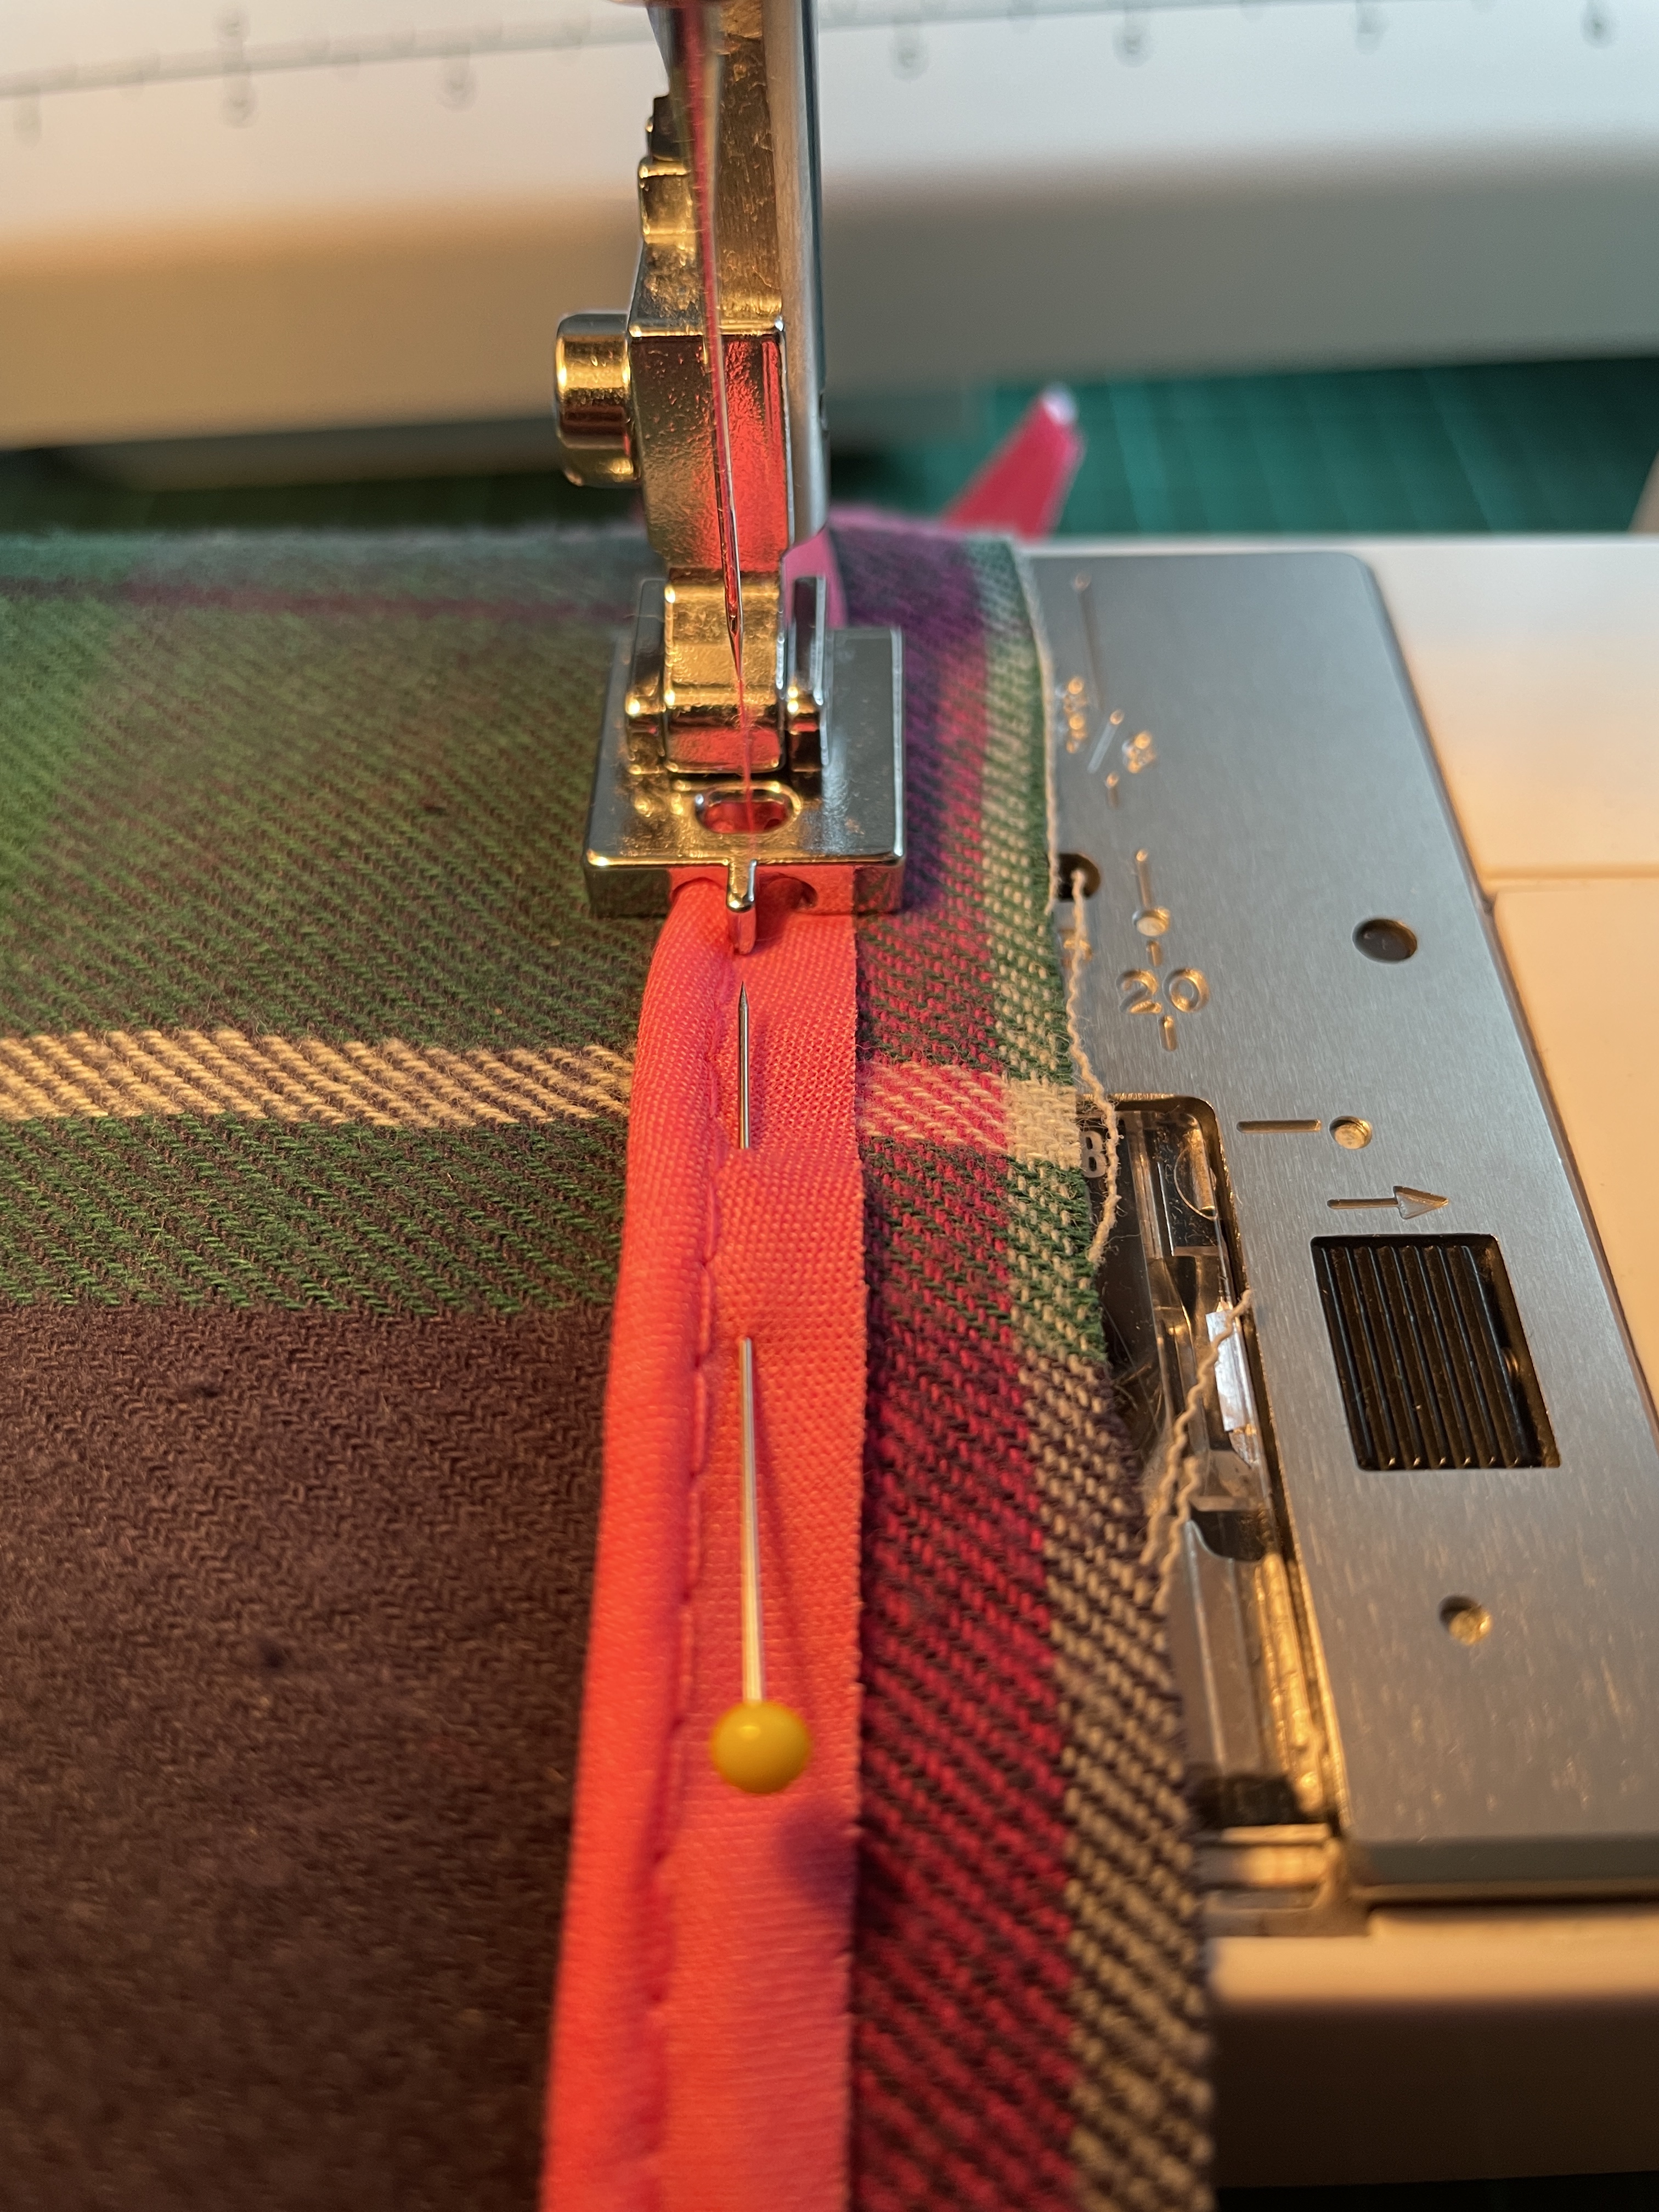
When I finally got to the sewing machine, the pajama pants came together easily enough. There is piping between the bottom of the pants and the cuff, which was new to me. I used my invisible zip foot to add the piping, as I don’t have a piping foot, and it worked a treat.
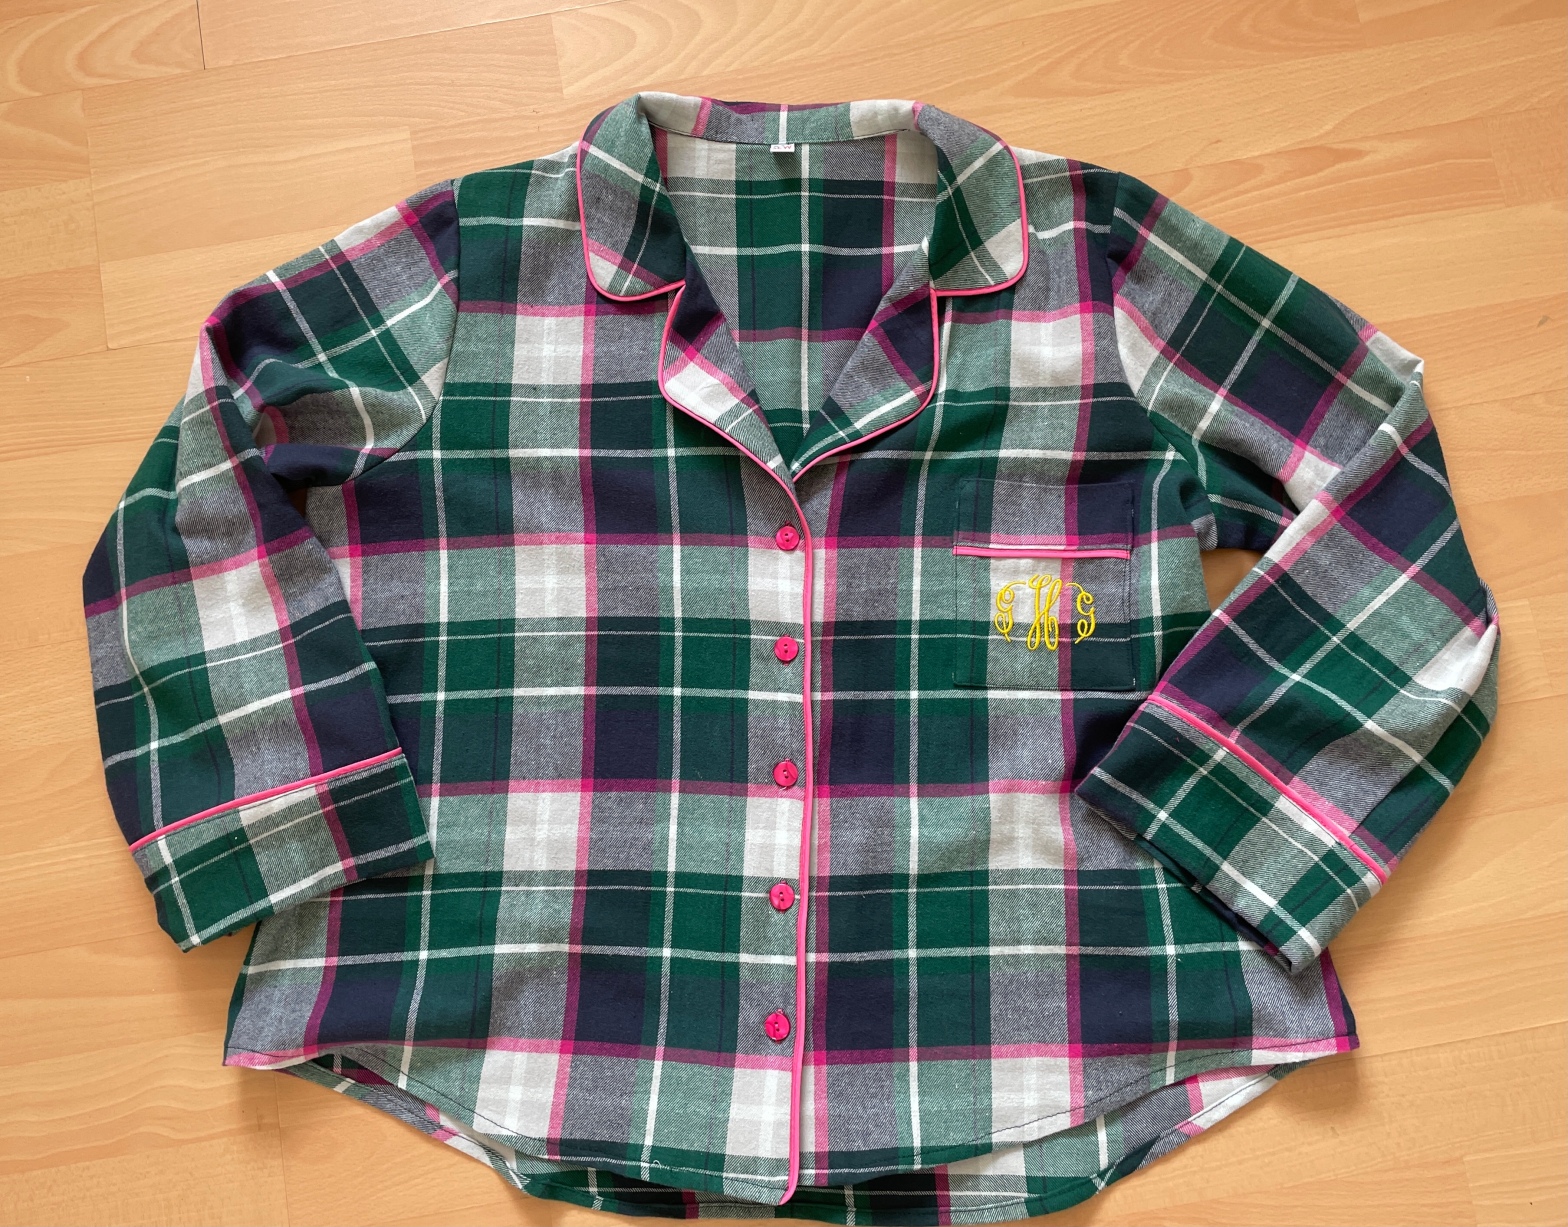
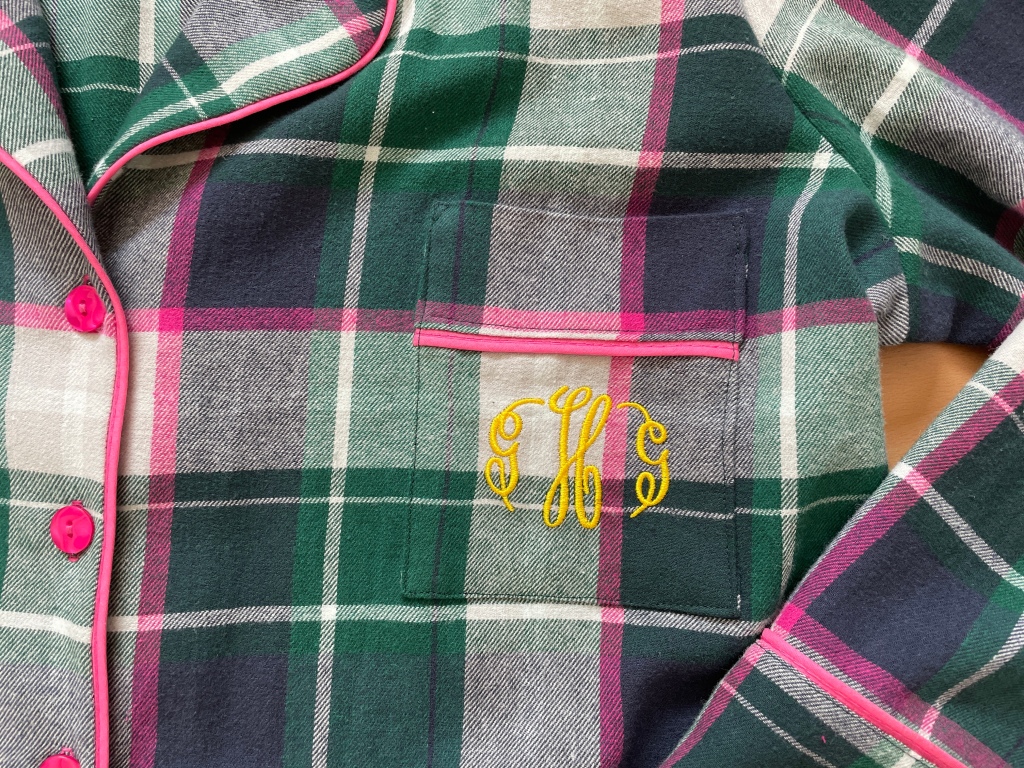
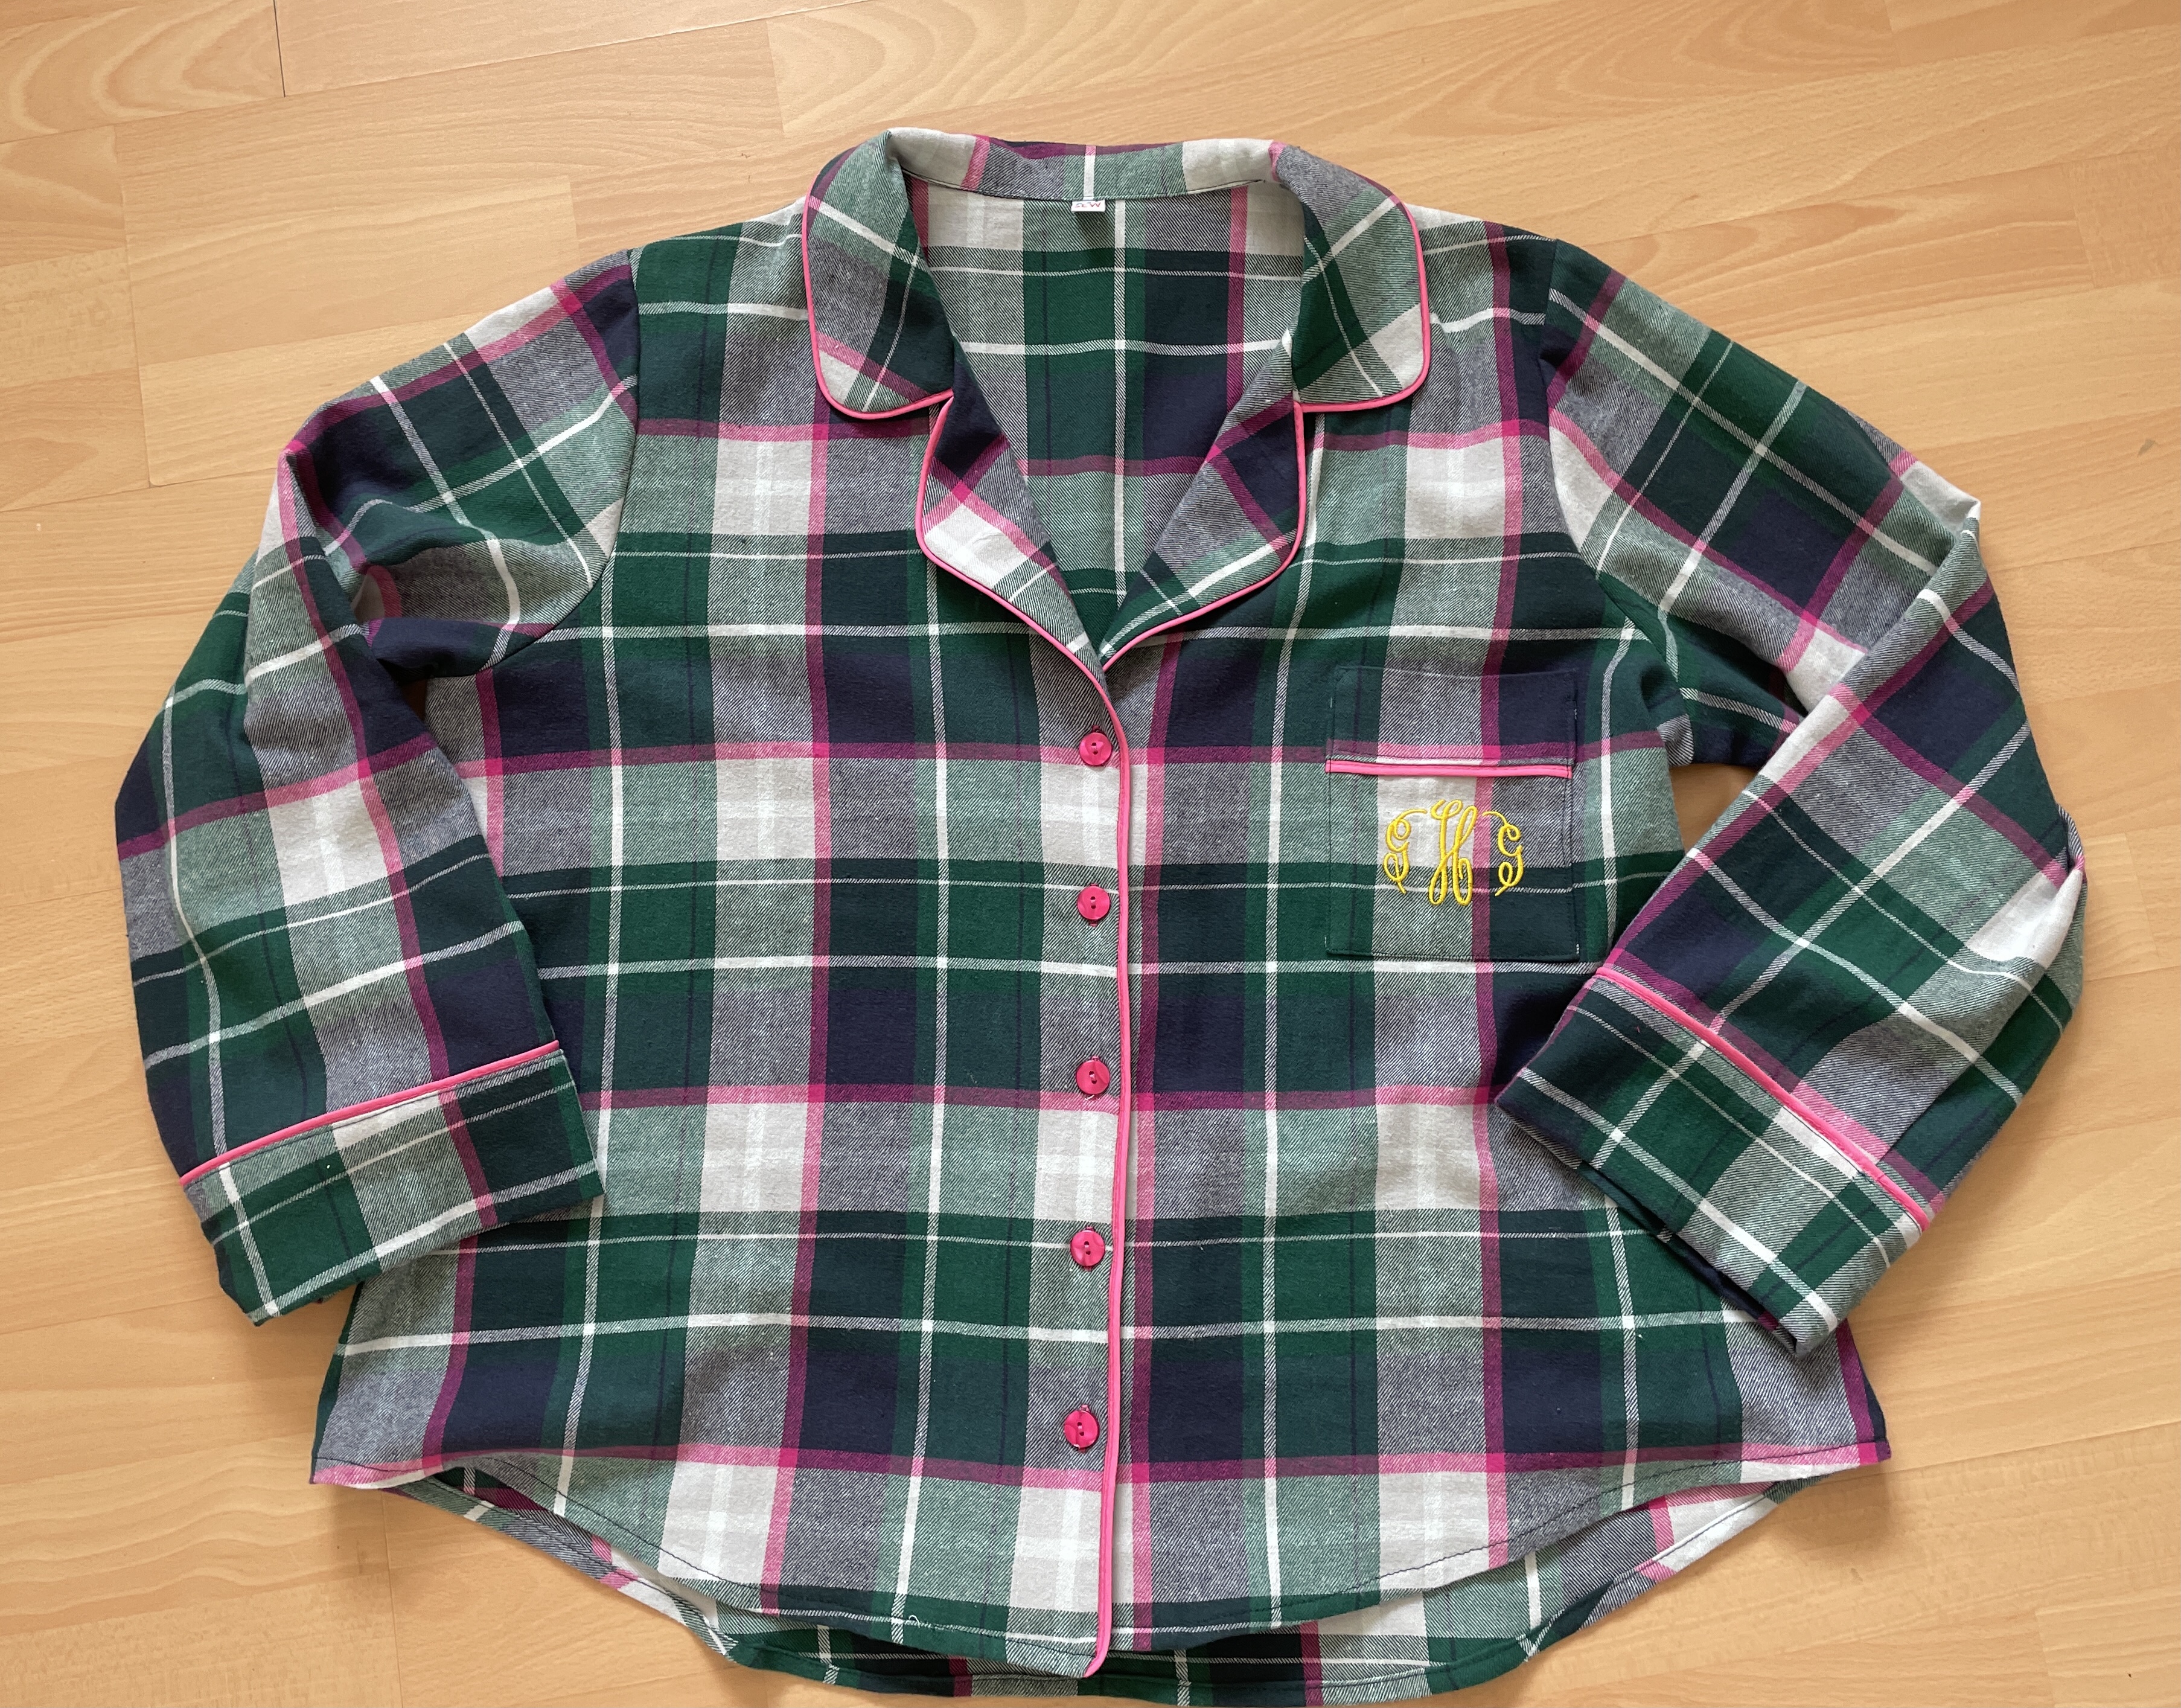
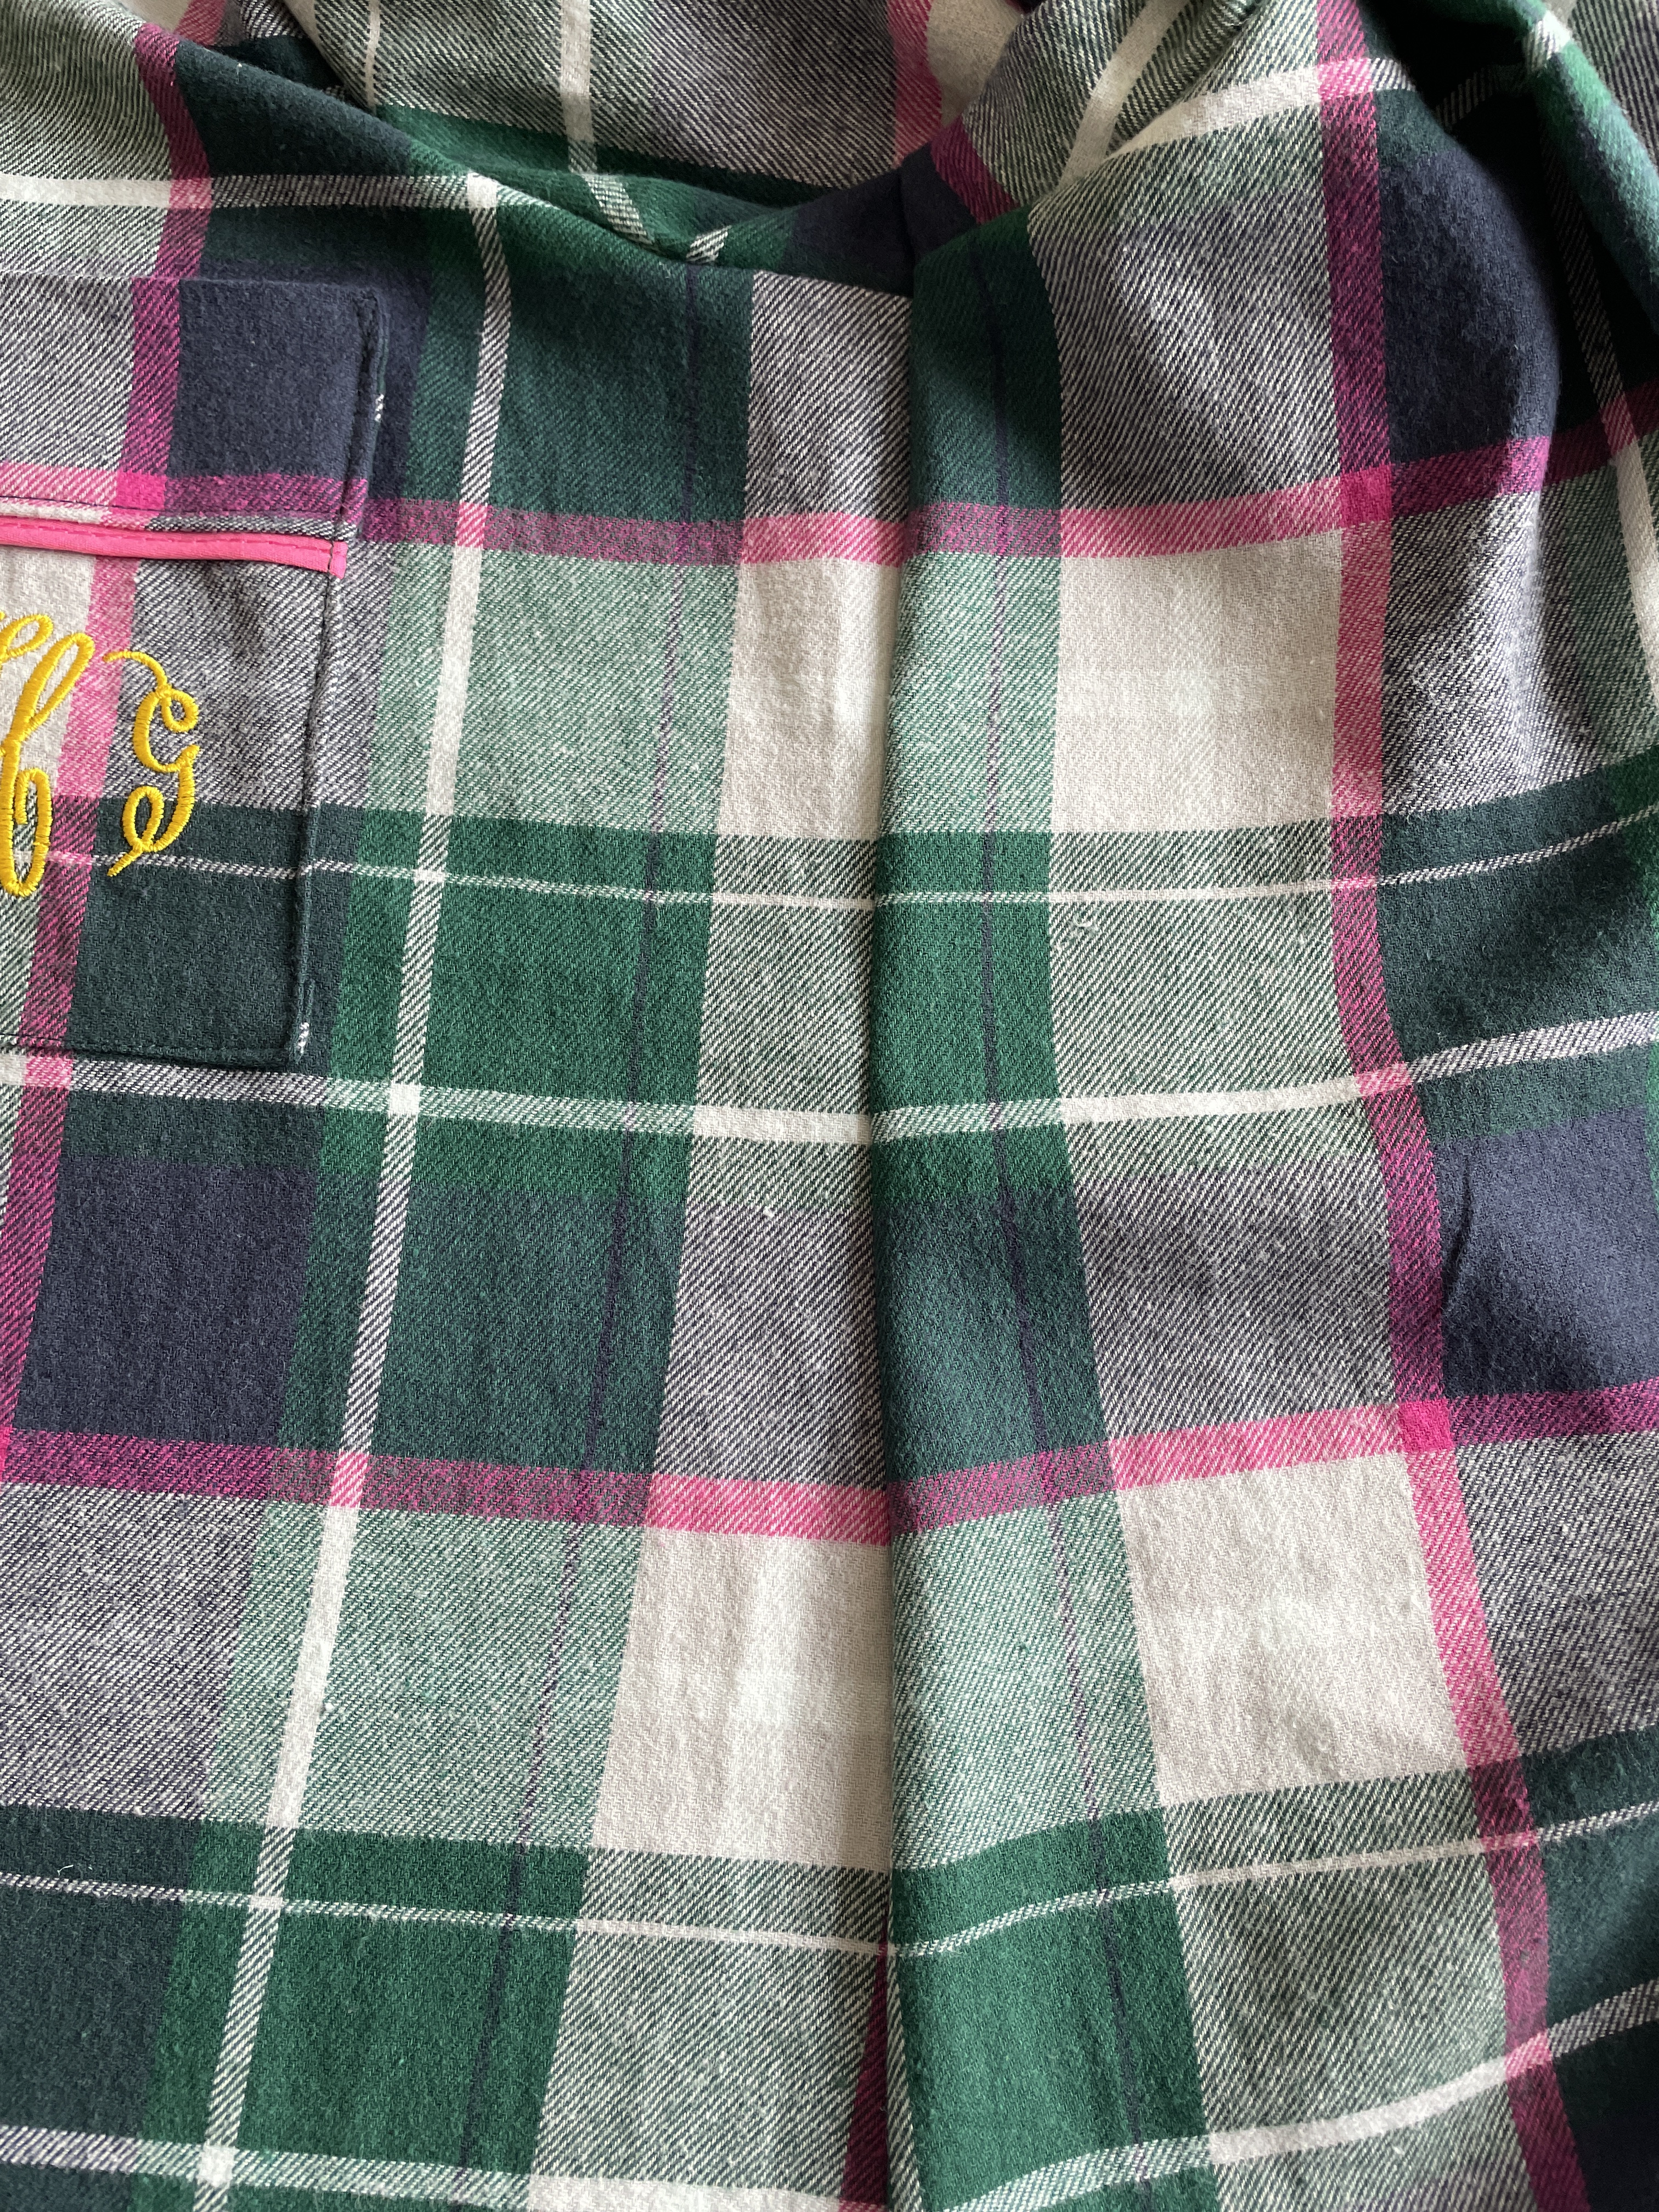
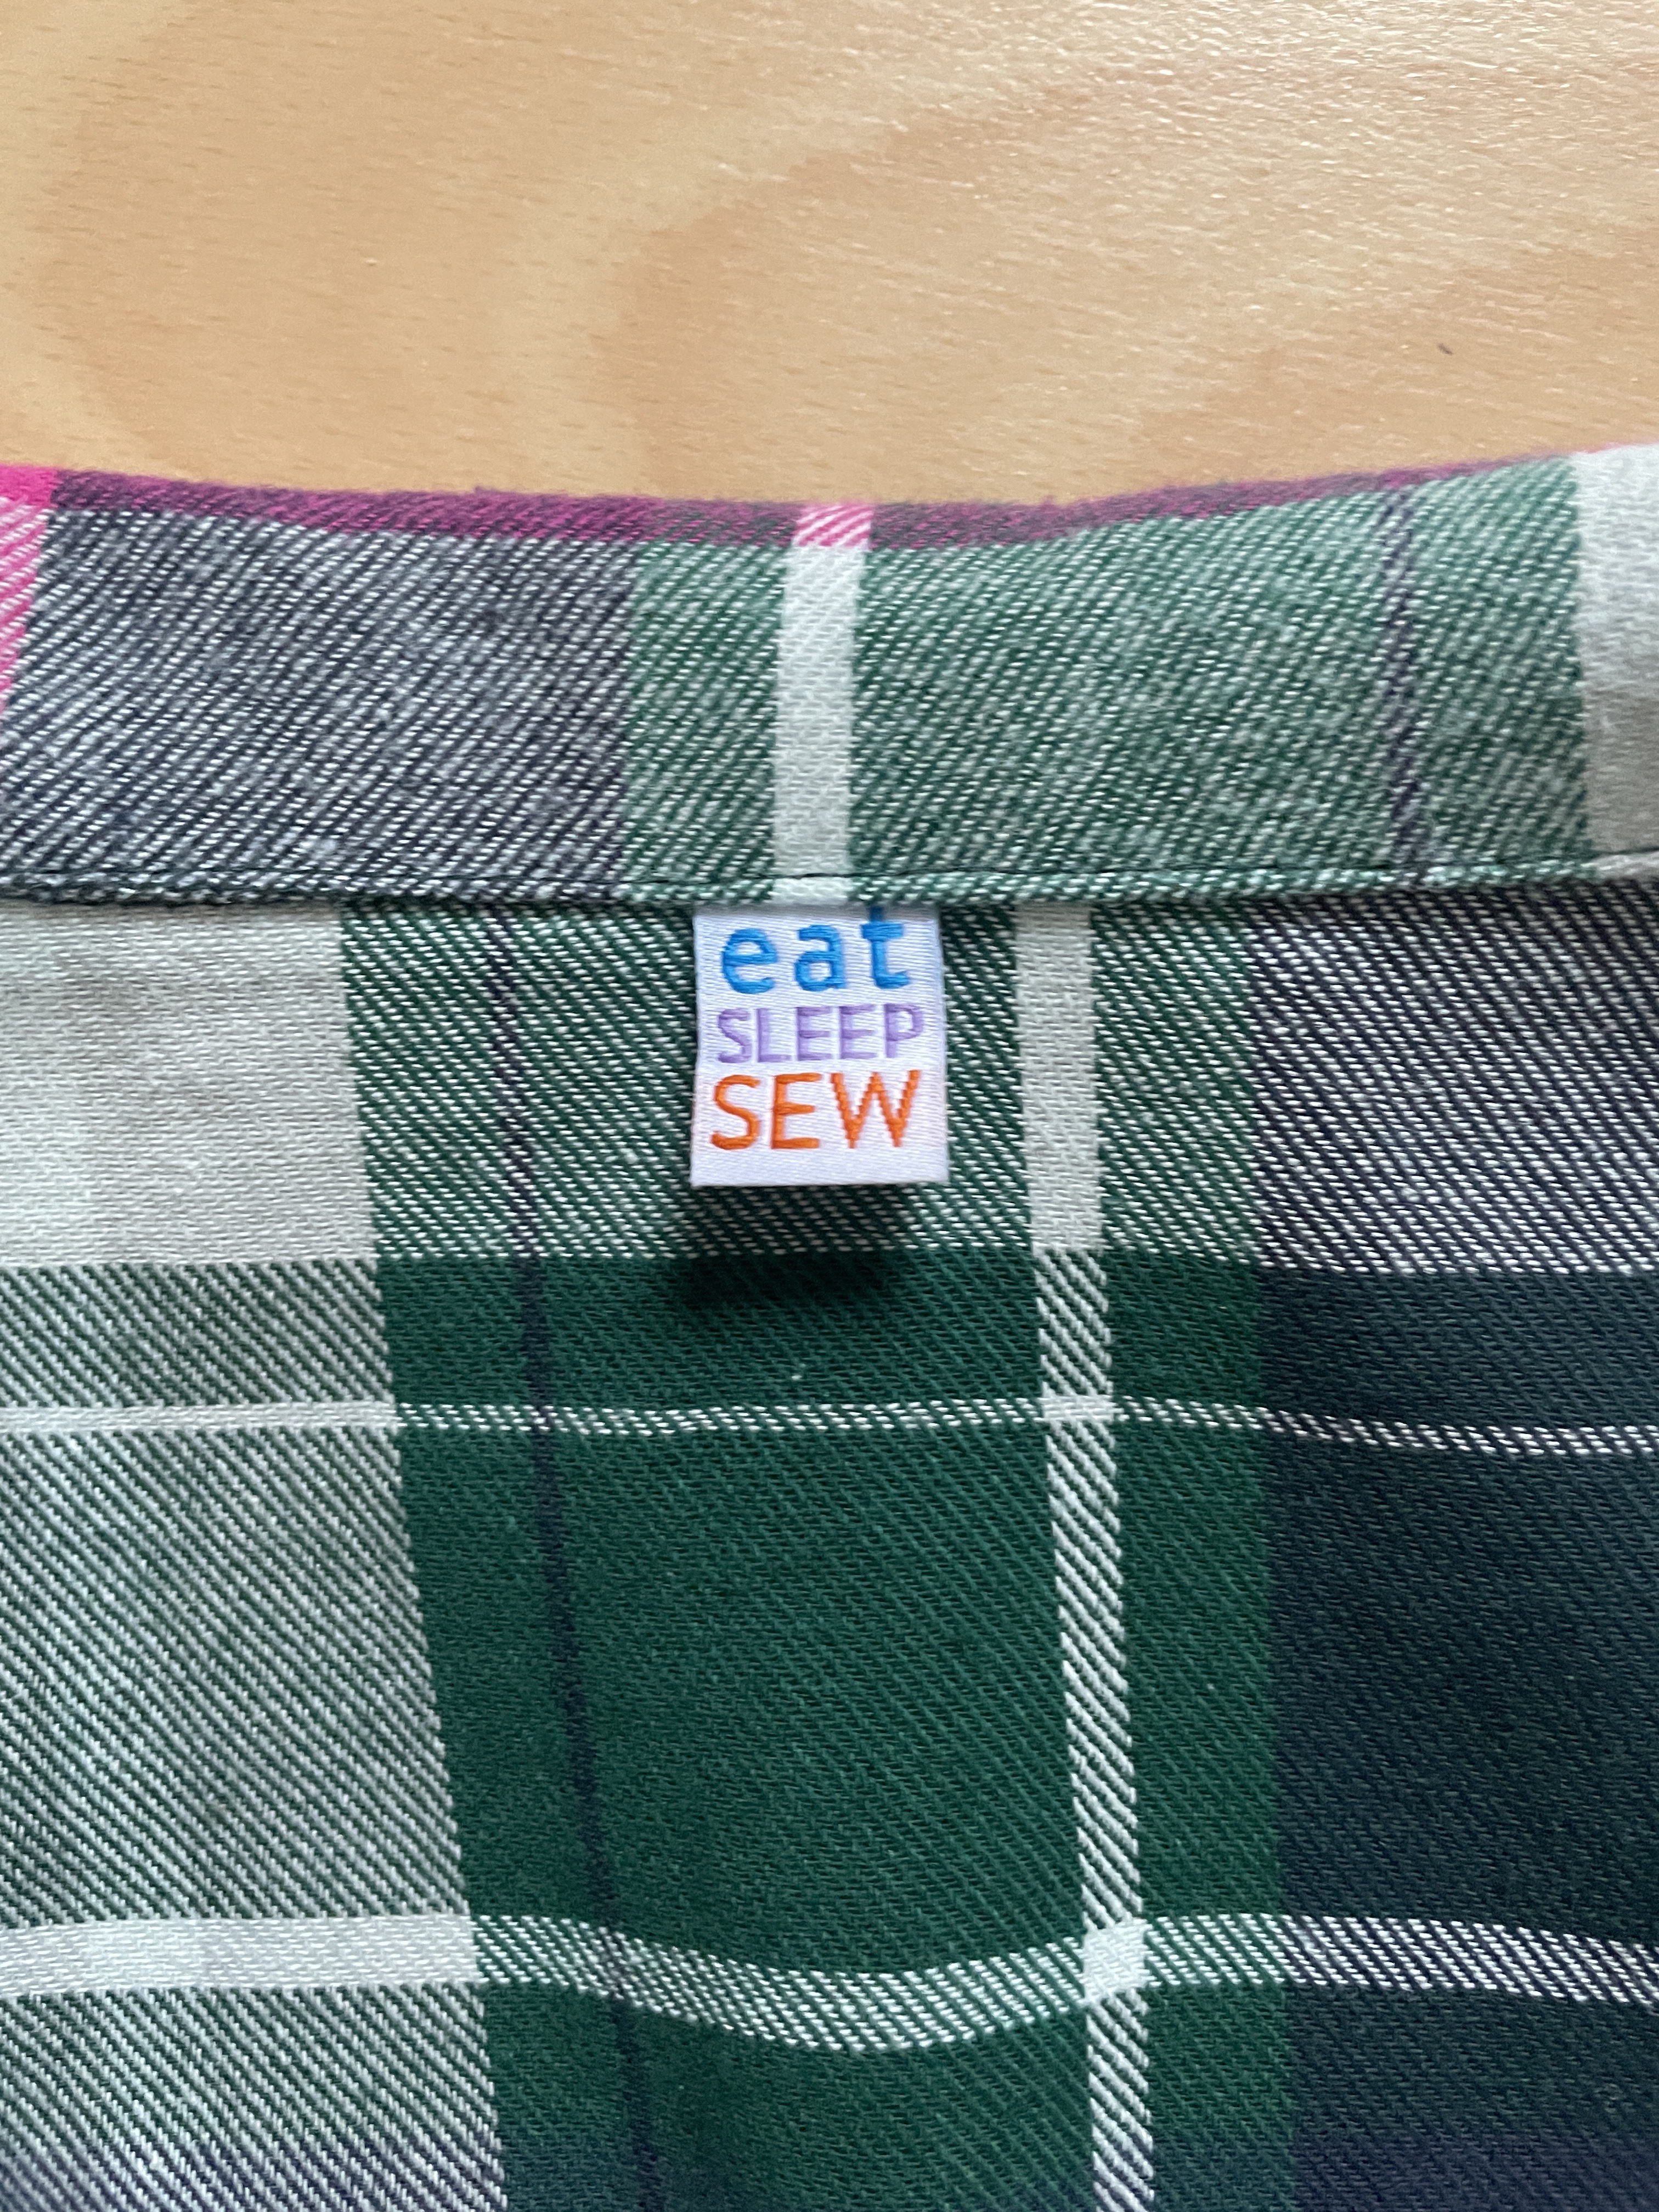
With the trousers done, I procrastinated a little before starting the top as I was quite nervous about the piped collar. There are some great blog posts on the Closet Core website that take you through the process step by step, and there are also many YouTube videos on the subject which I found very useful. As part of this procrastination process, I decided to embroider the pocket with my initials. I first thought to use pink thread but it didn’t show up great against the pink bits of the fabric so I decided to go for a contrast with gold thread. It was my first attempt at monogramming on my embroidery machine, and I am thrilled with the outcome.
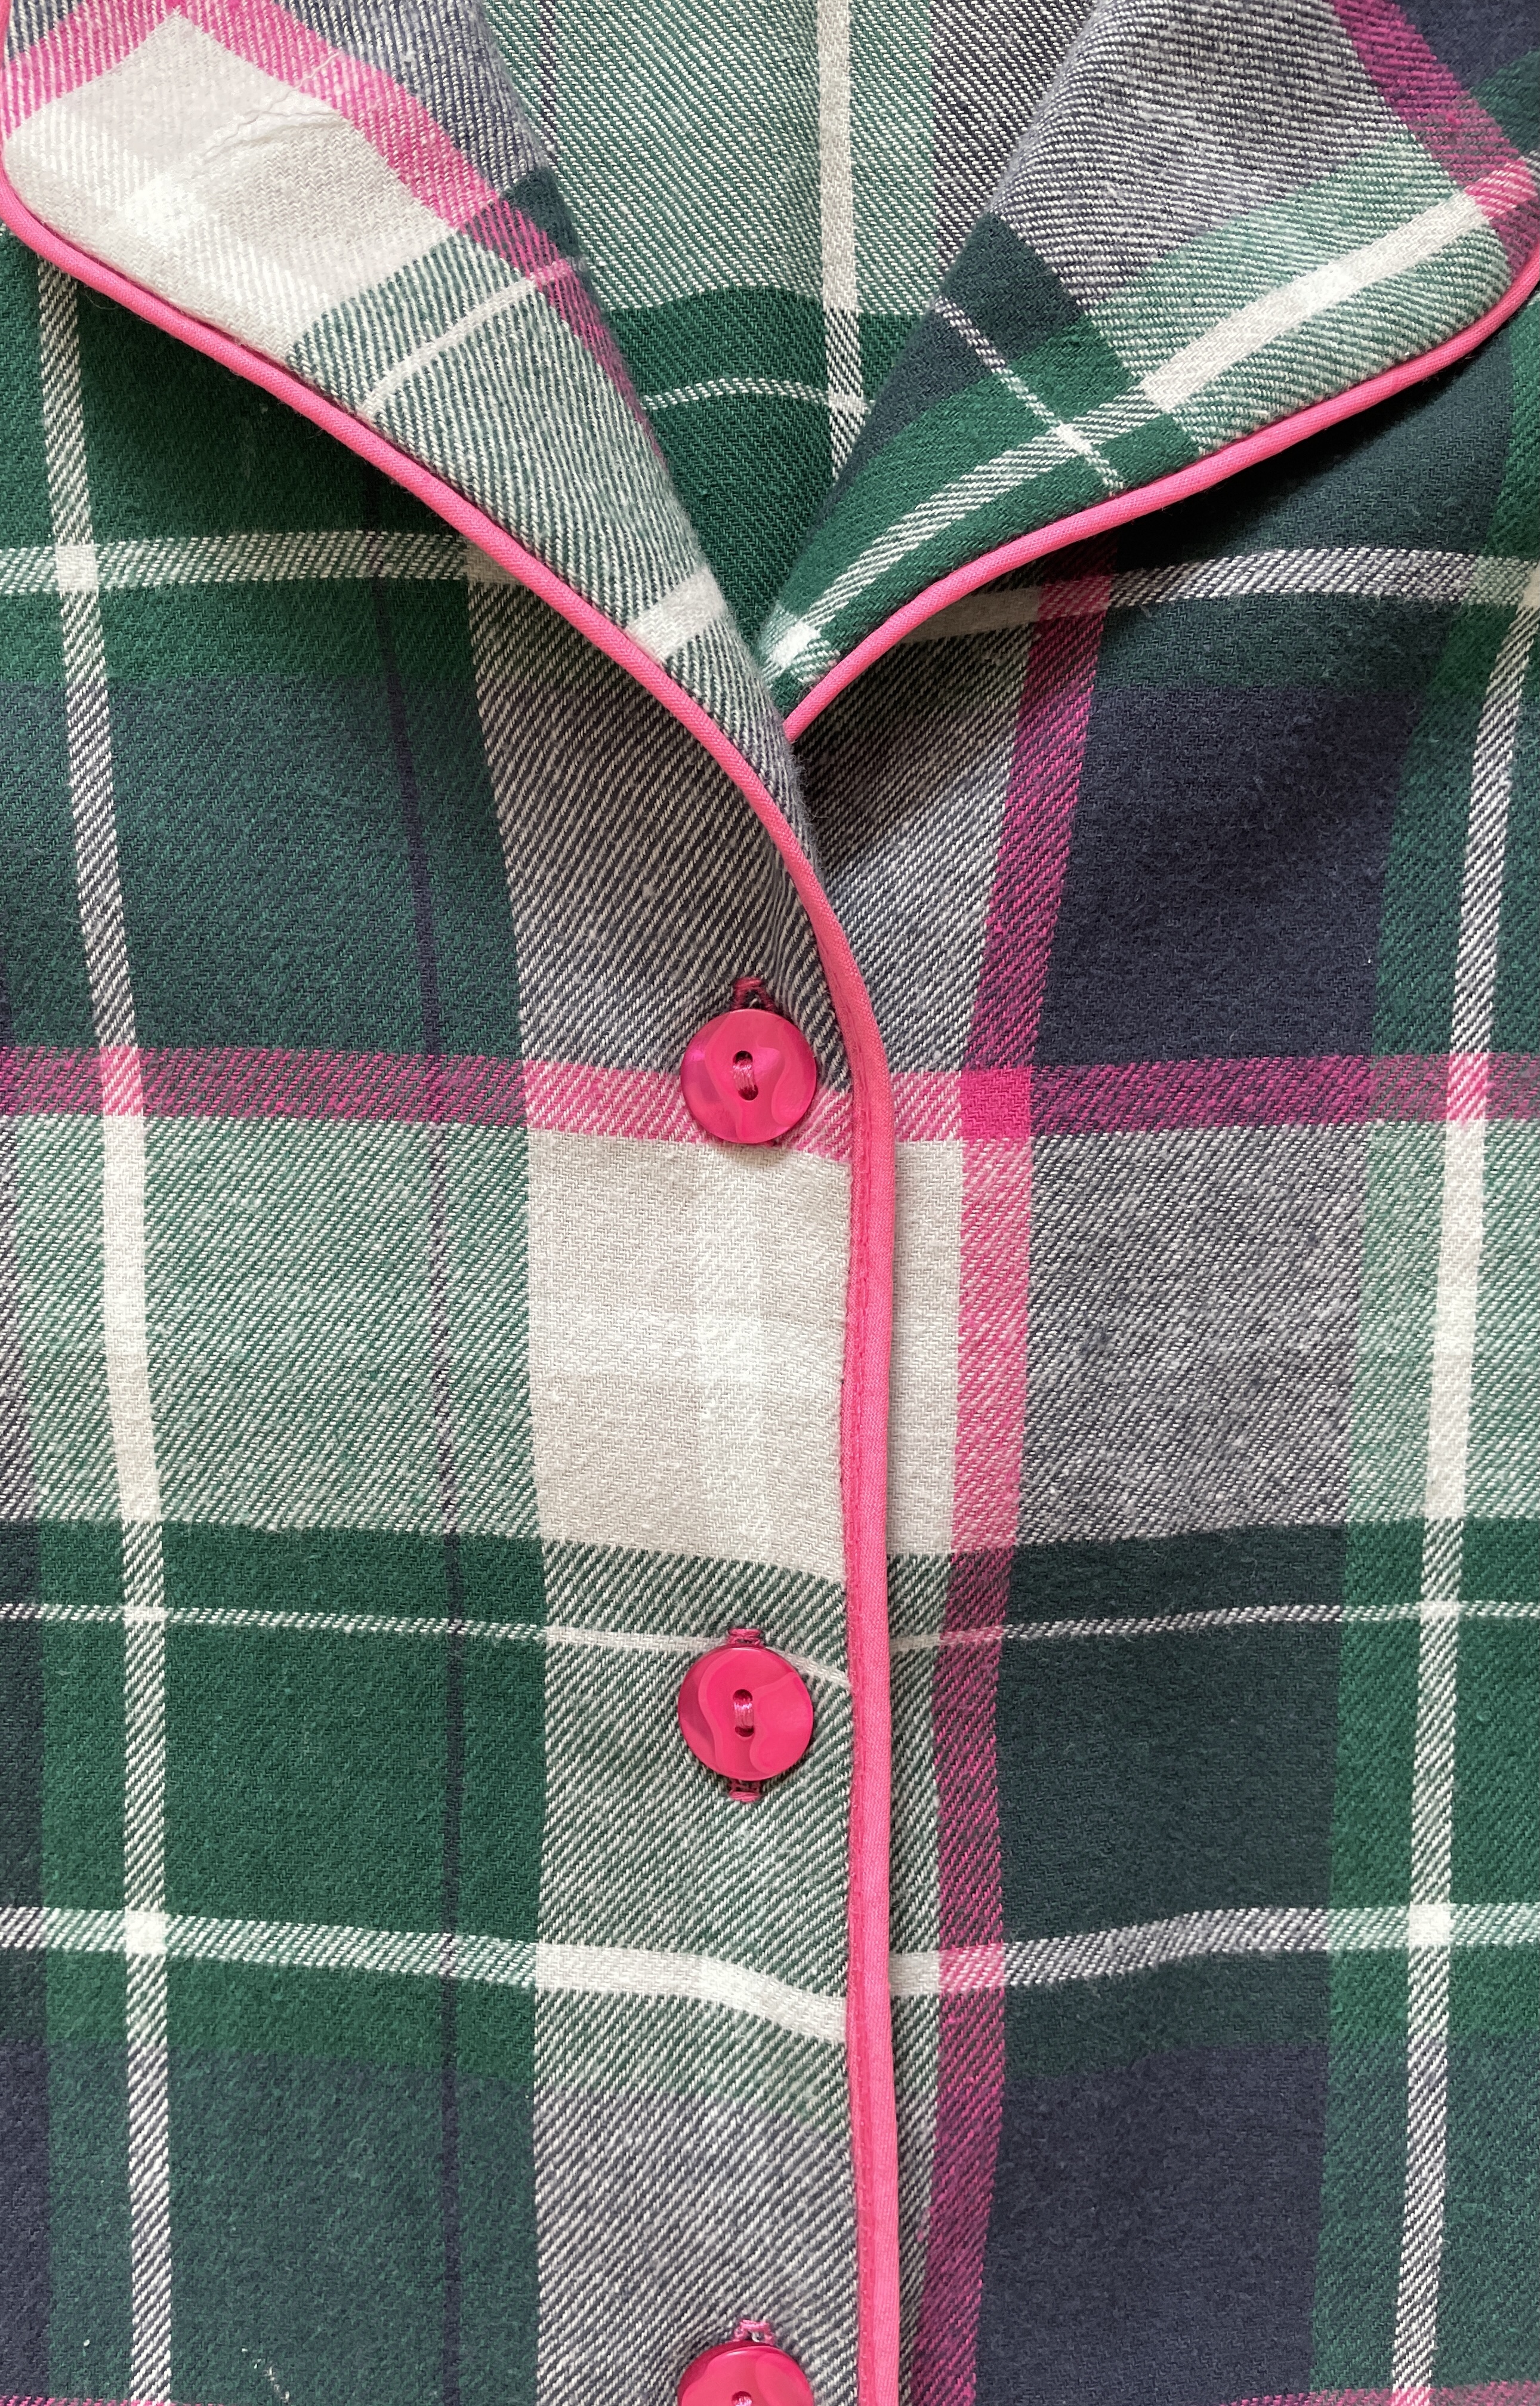
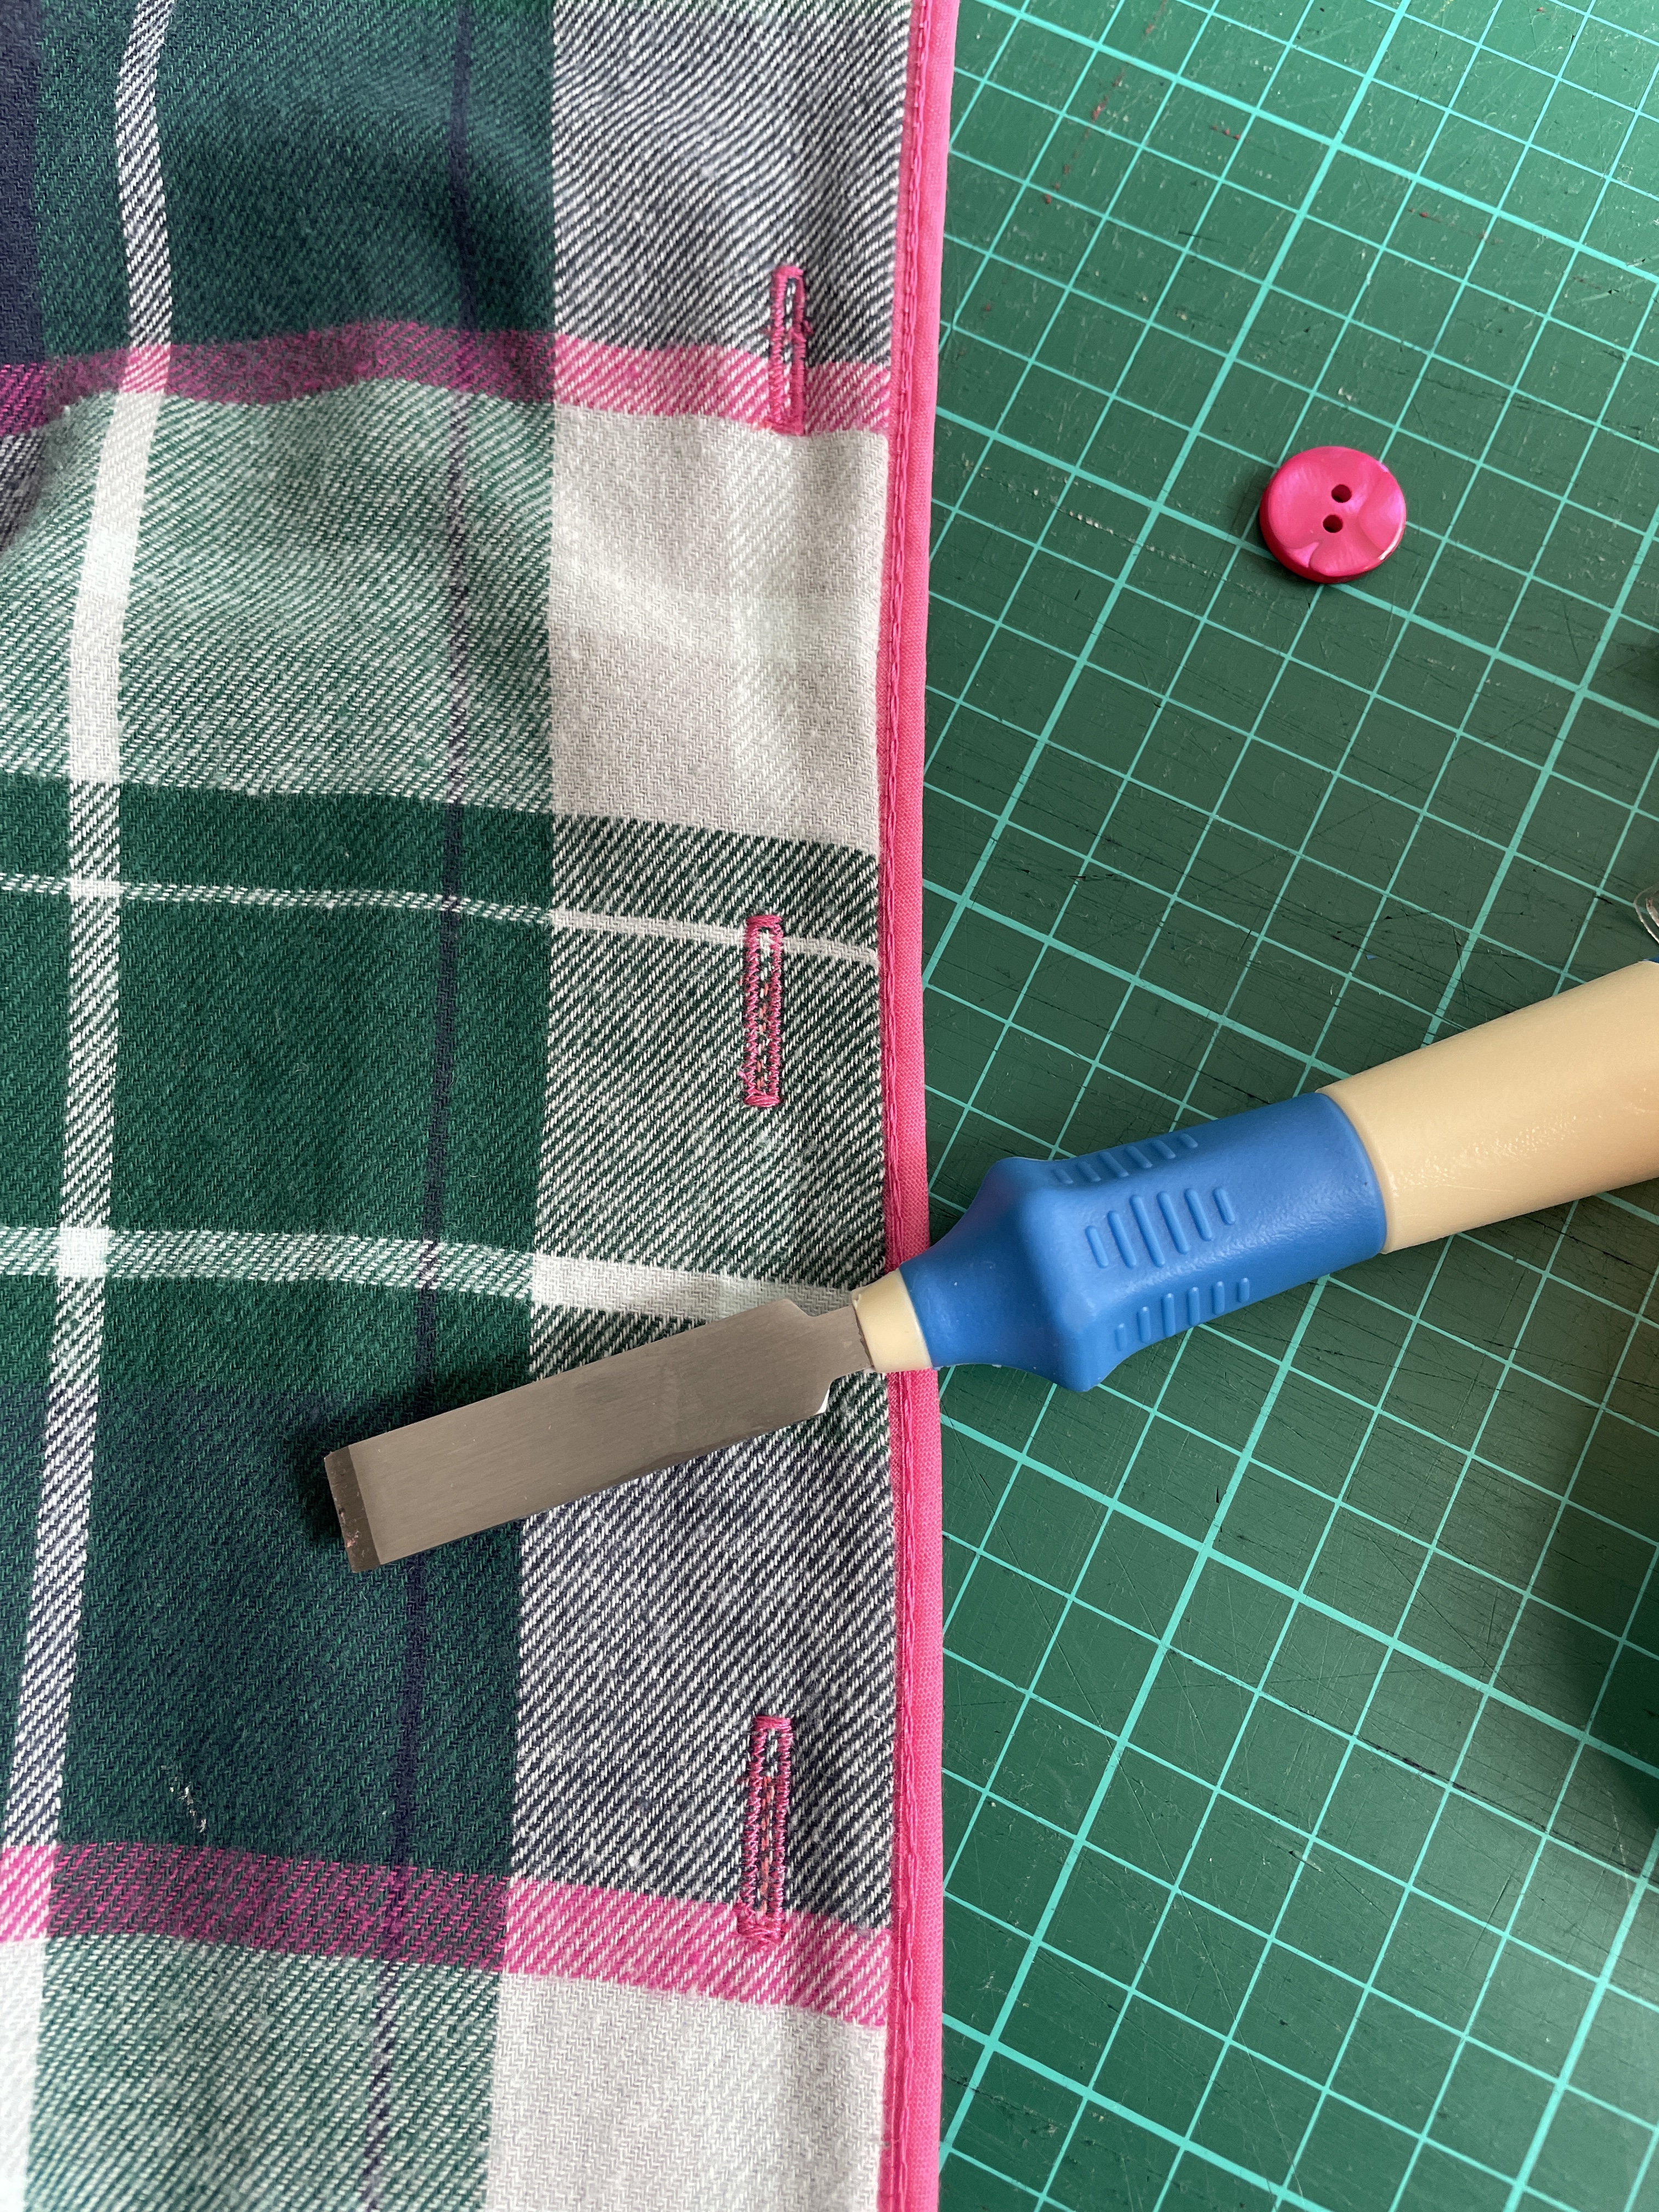
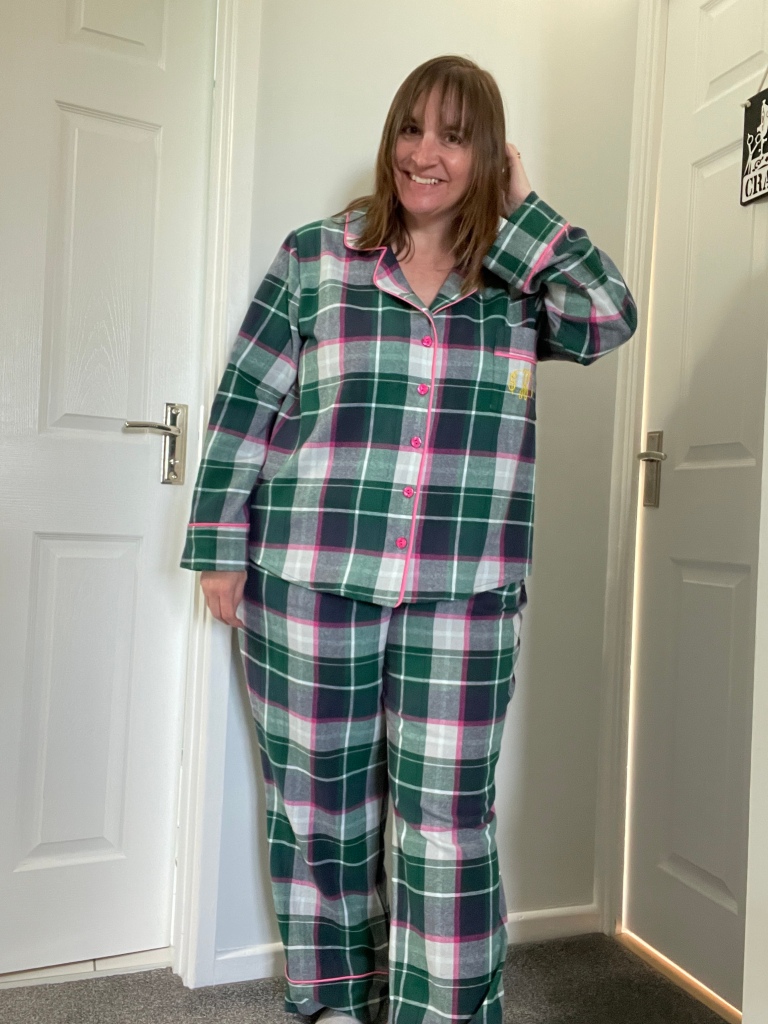
When I actually cracked on with sewing up the top, it was fine. There are a lot of steps in the process, and it took me a long time to get through it. My second collar intersection is better than my first, but both are perfectly fine. I got quite used to the piping by the end of it. You just have to be precise with your sewing is all. The buttonholes were the last scary part of the make, as I haven’t done that many. I went for pink thread so any mistakes would be very visible, but they went well. I used my new buttonhole chisel for the first time – it was great. It felt much less risky than getting in there with my seam ripper. I added bright pink buttons from Sewcraft in Swindon.
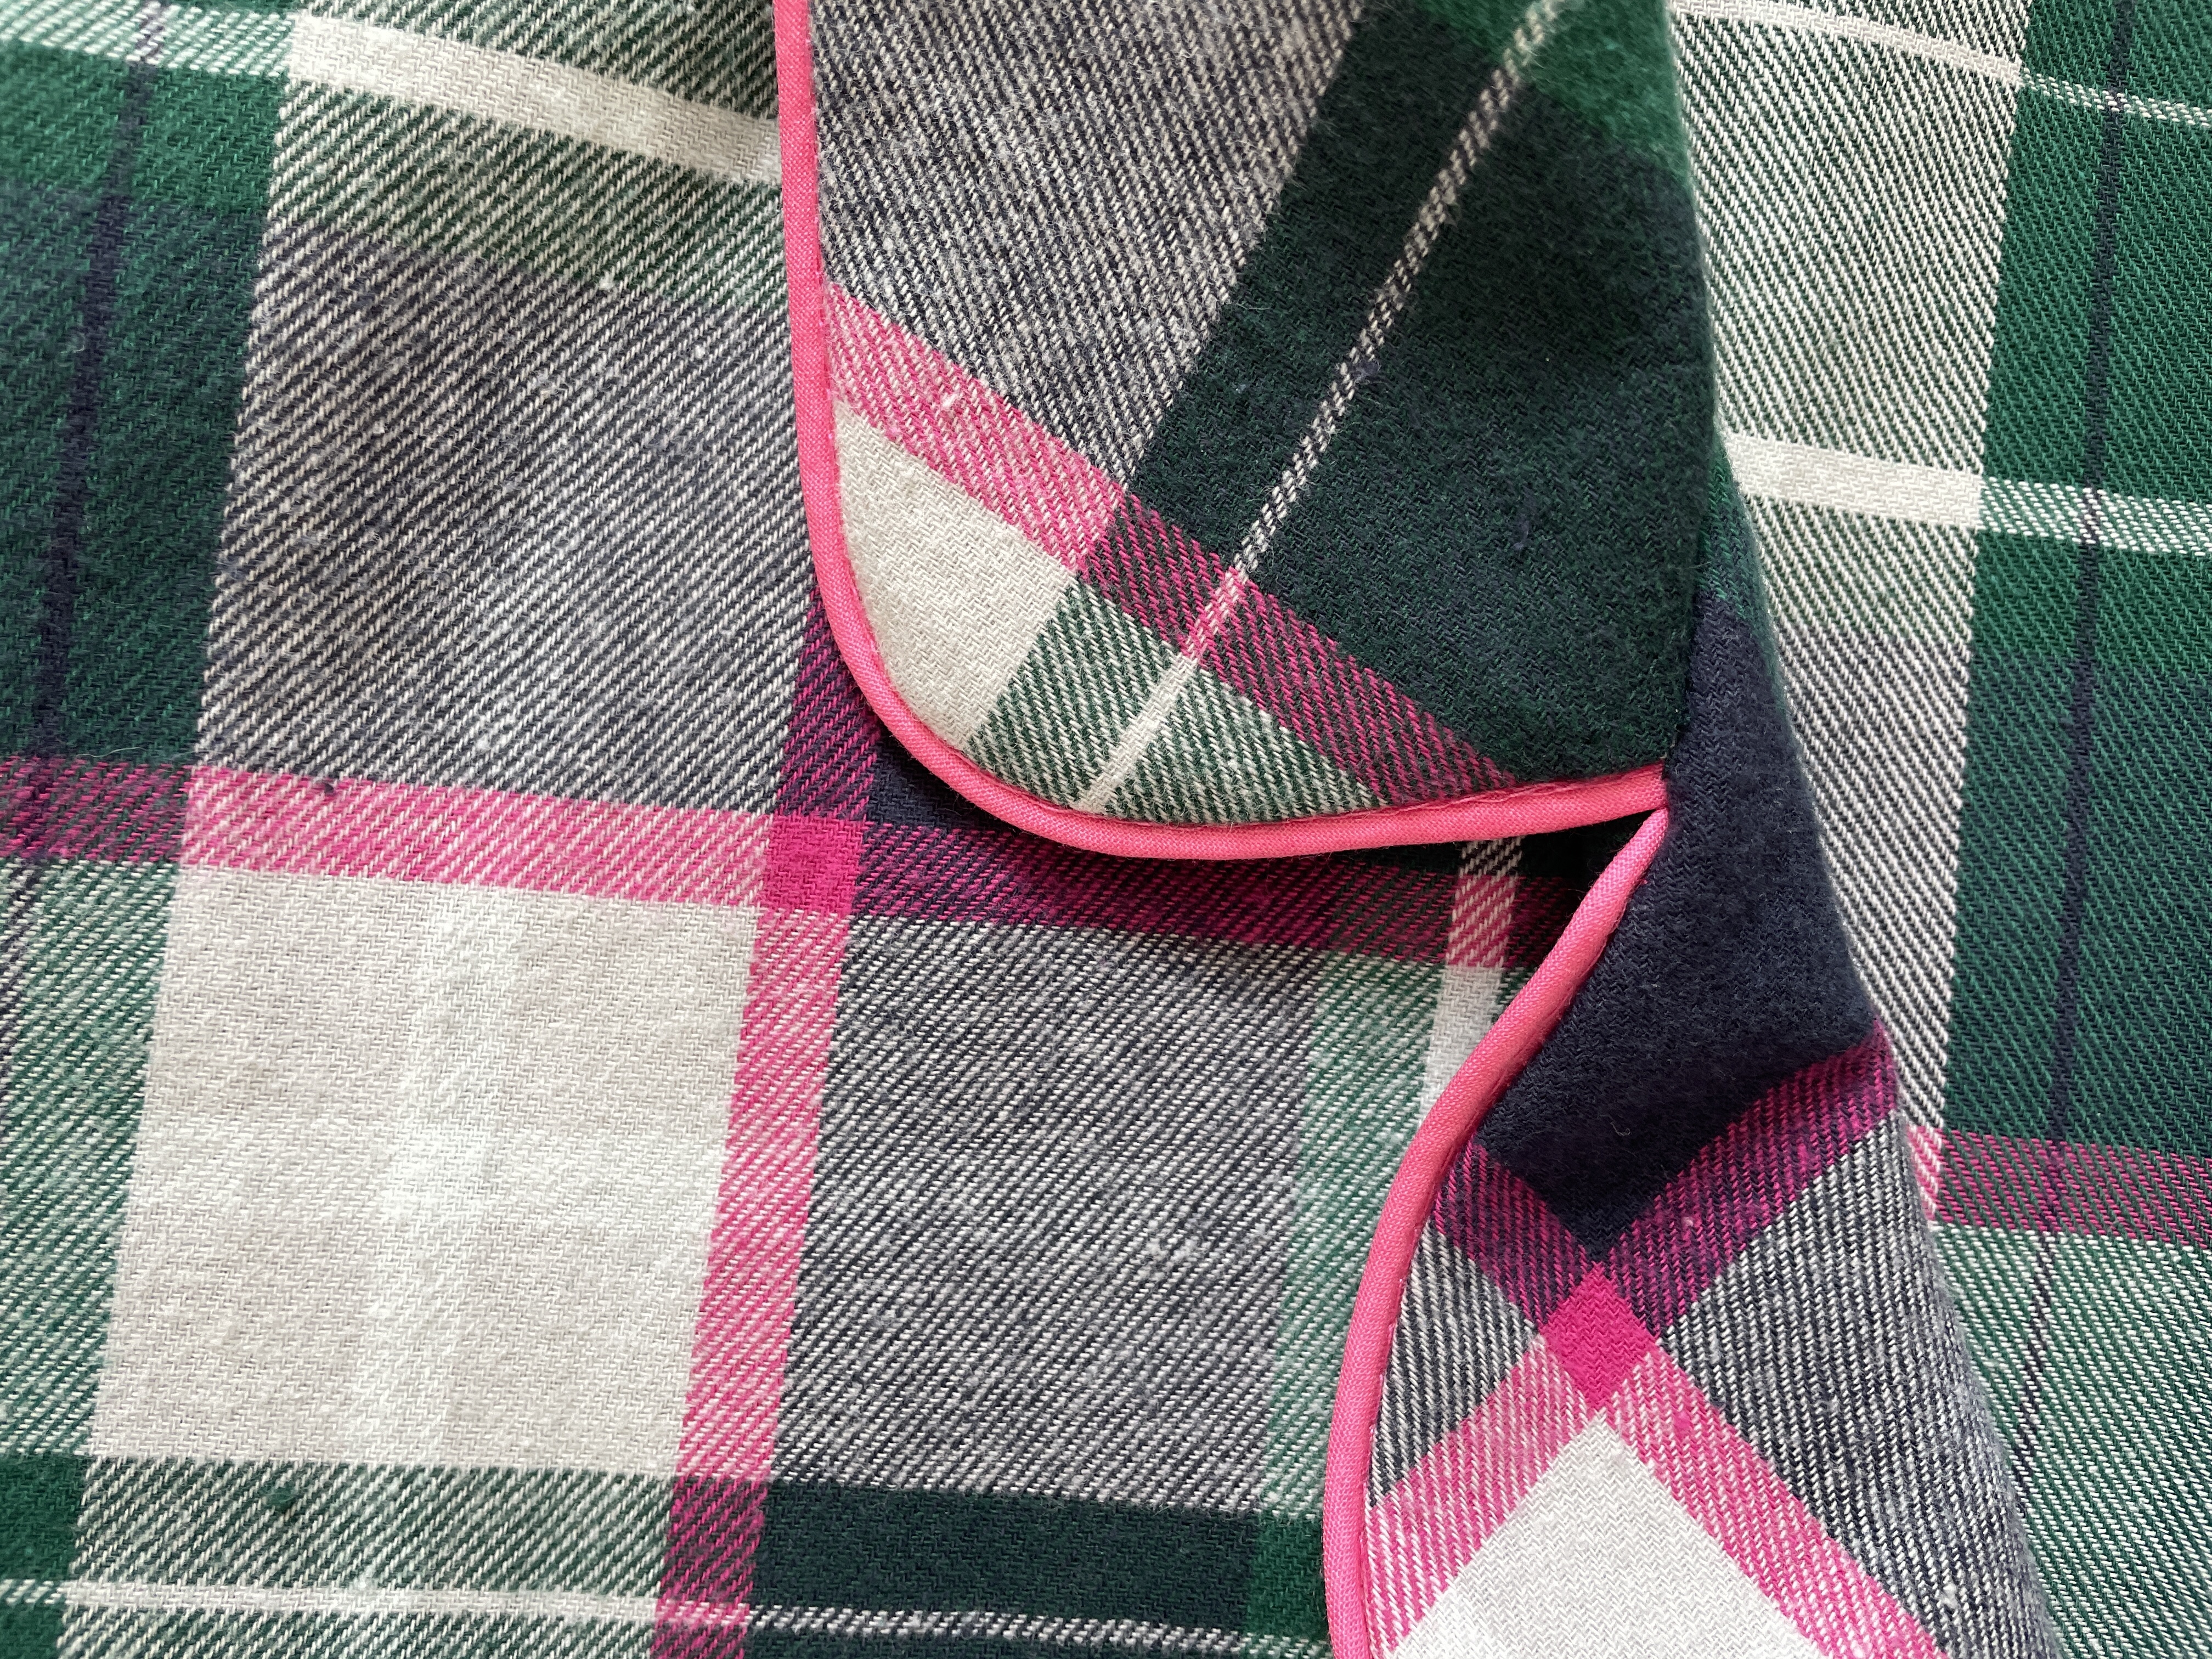
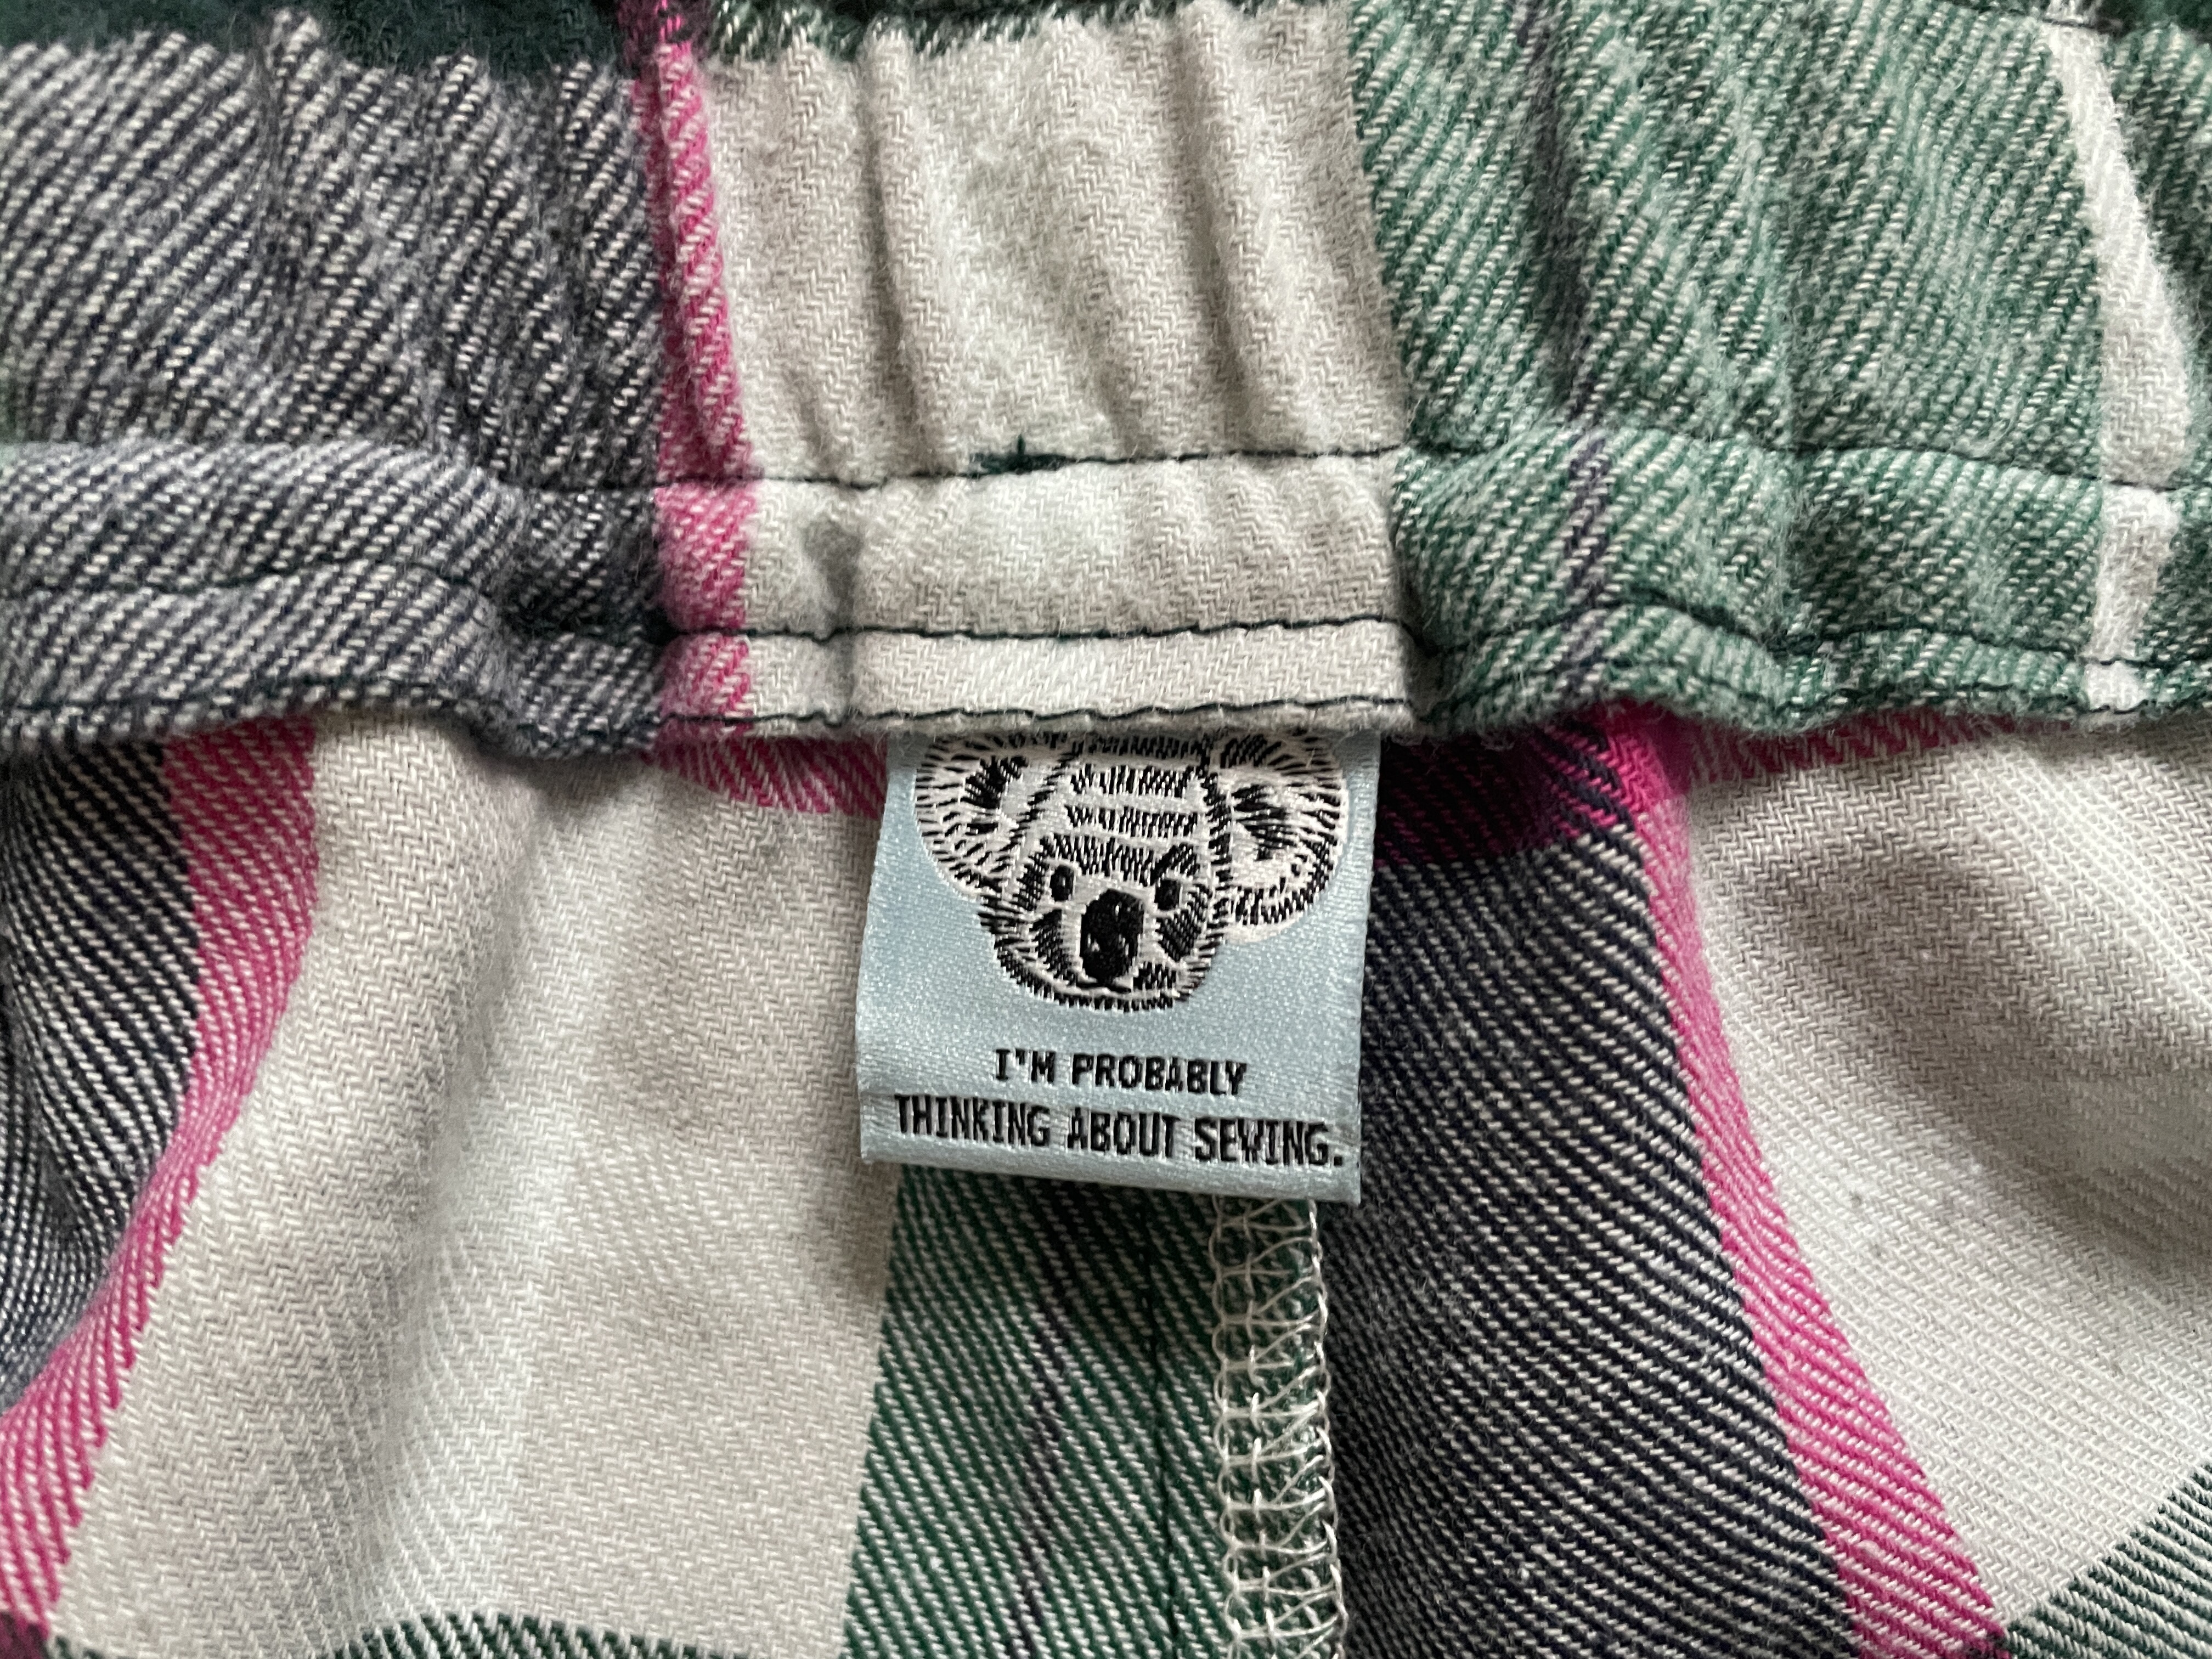
One of the things I love about this pattern is the standard of the finish inside. All the cuffs and the waistband is finished with no overlocked edges showing. Similarly the collar is all tucked in nicely. With hindsight, I wish I’d have used french seams on the other seams as it would have been so nice inside.

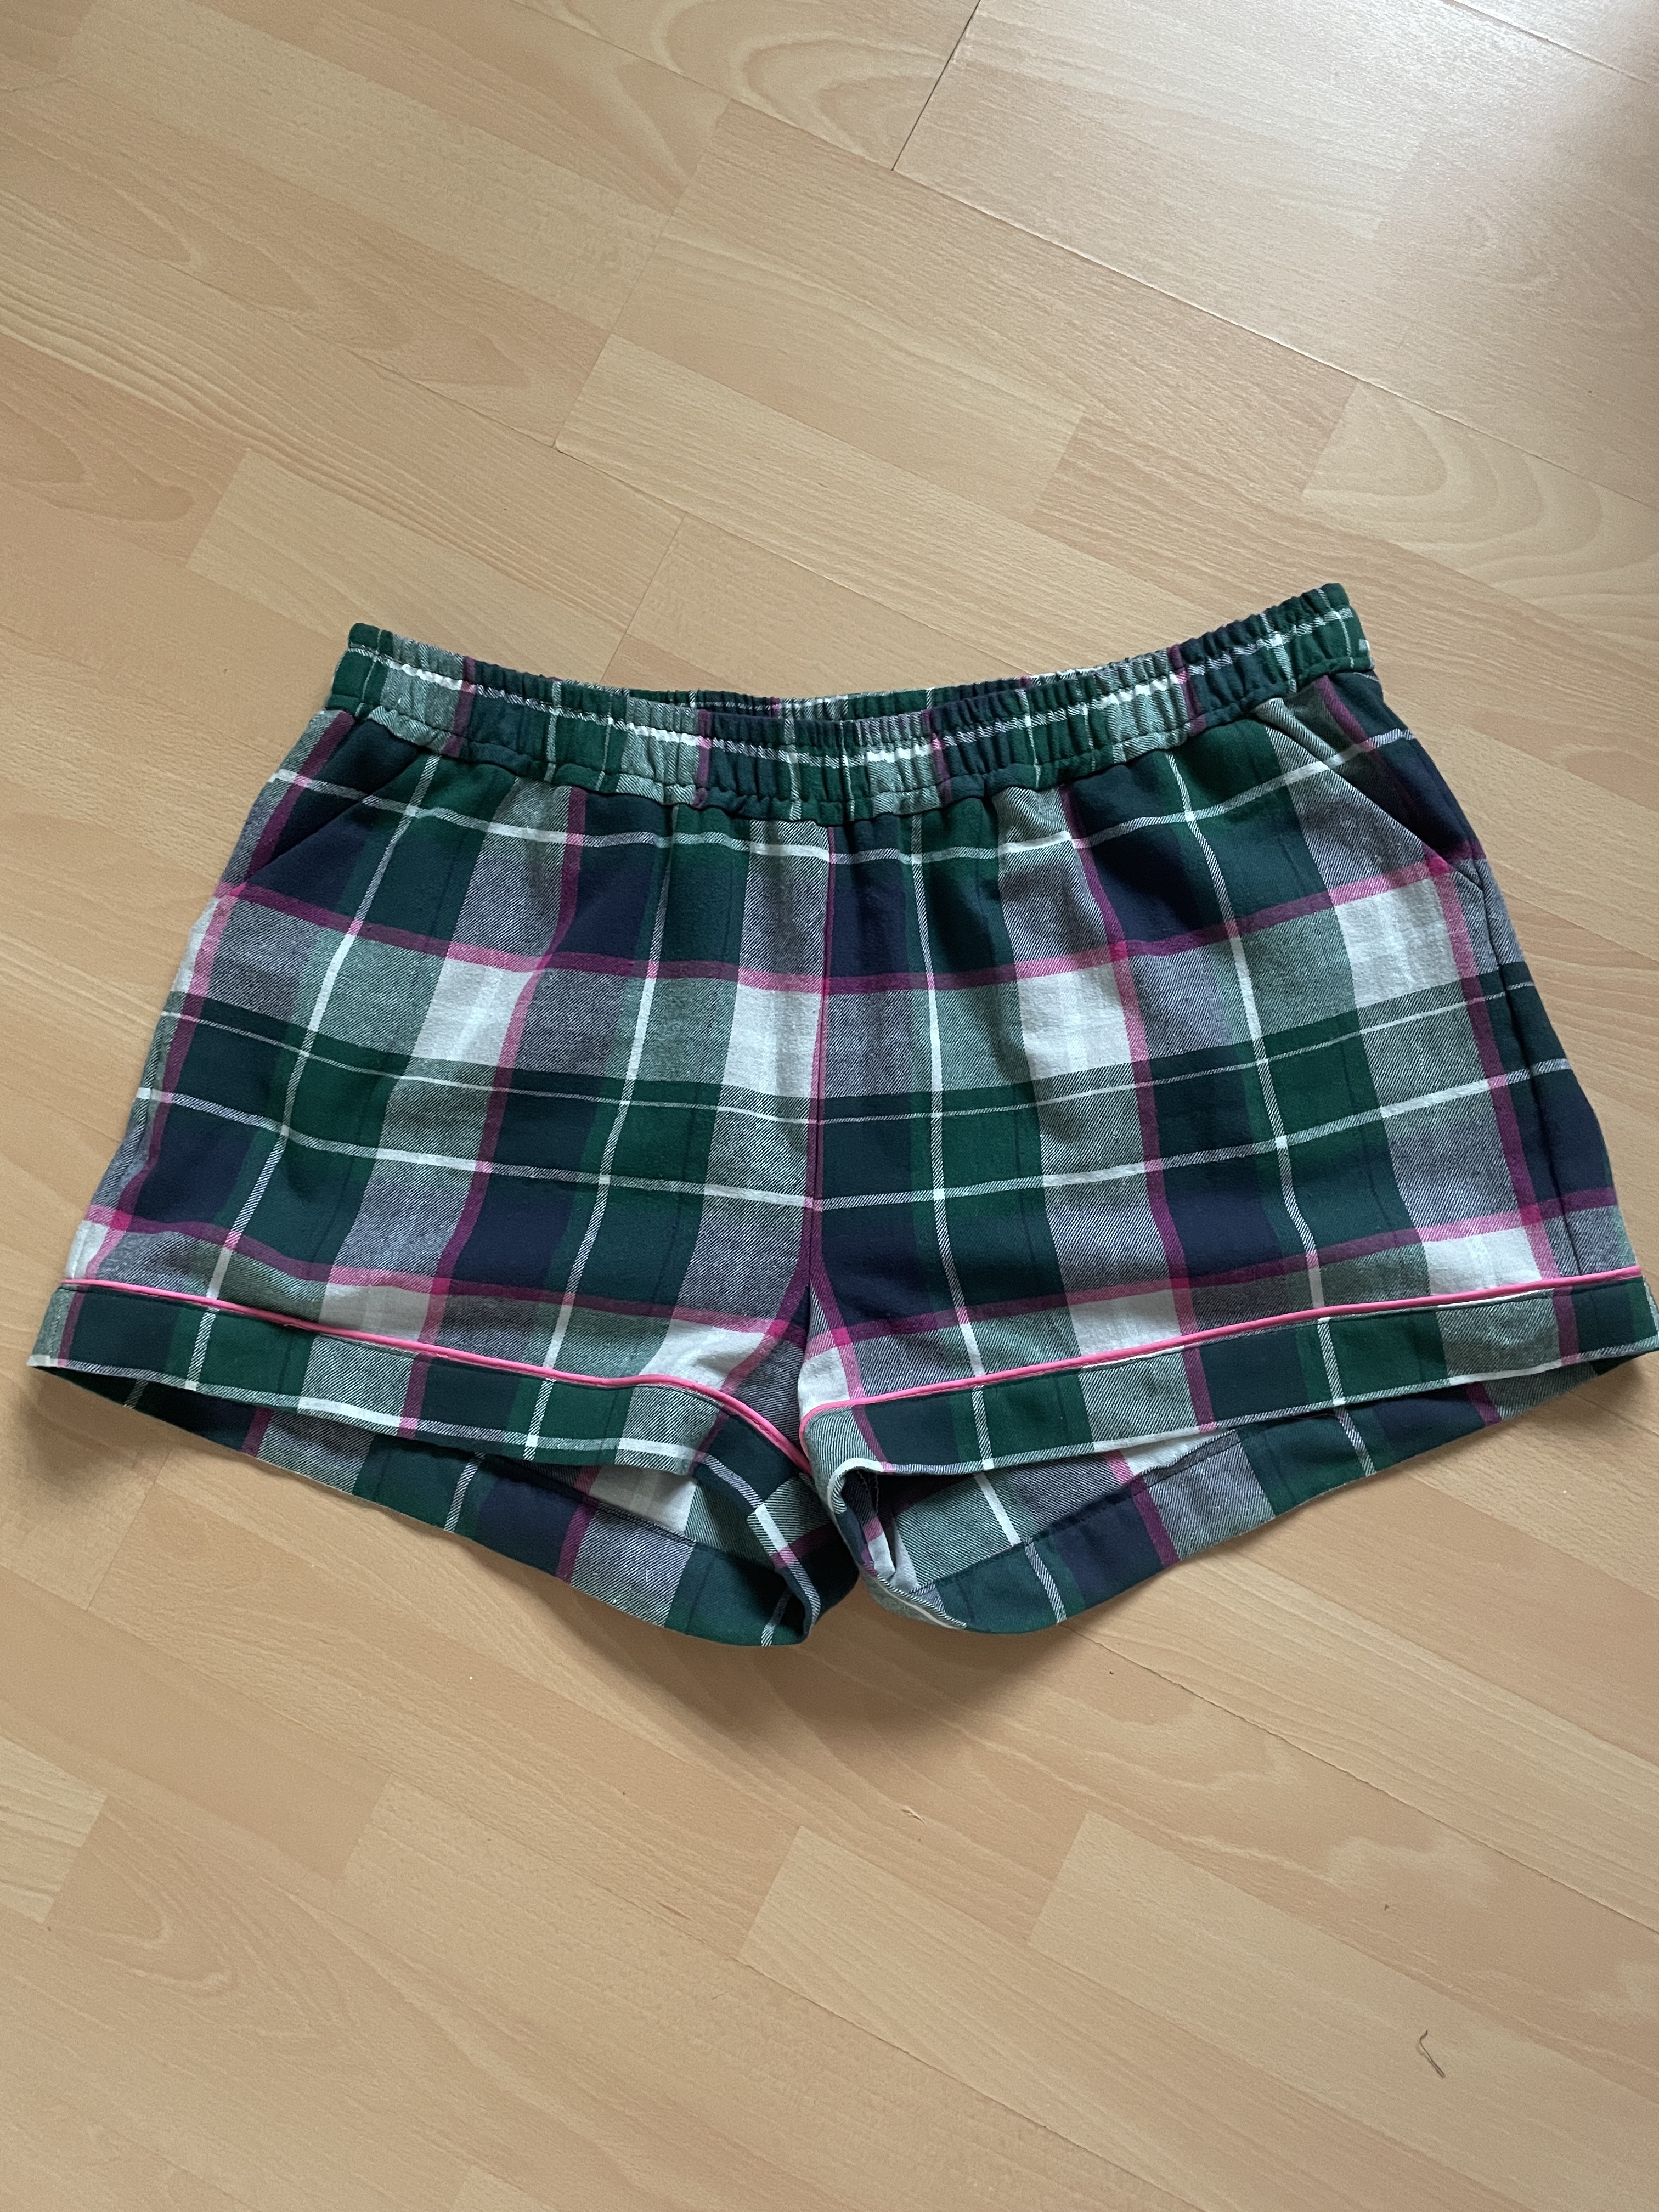
I still had plenty of fabric left so I decided to make a matching pair of shorts, with piping and cuffs this time. It was all pretty simple by this time, having made shorts and pants already.
When my husband bought me this pattern and fabric, he told me that he had our camping trips in mind. I like to get up in the morning and head over to the shower block first thing in my pajamas and he thought it would be good to wear these. I think he is right! I haven’t had the opportunity to do it yet, but I could soon be swishing around a campsite near you in my marvellous pajamas!
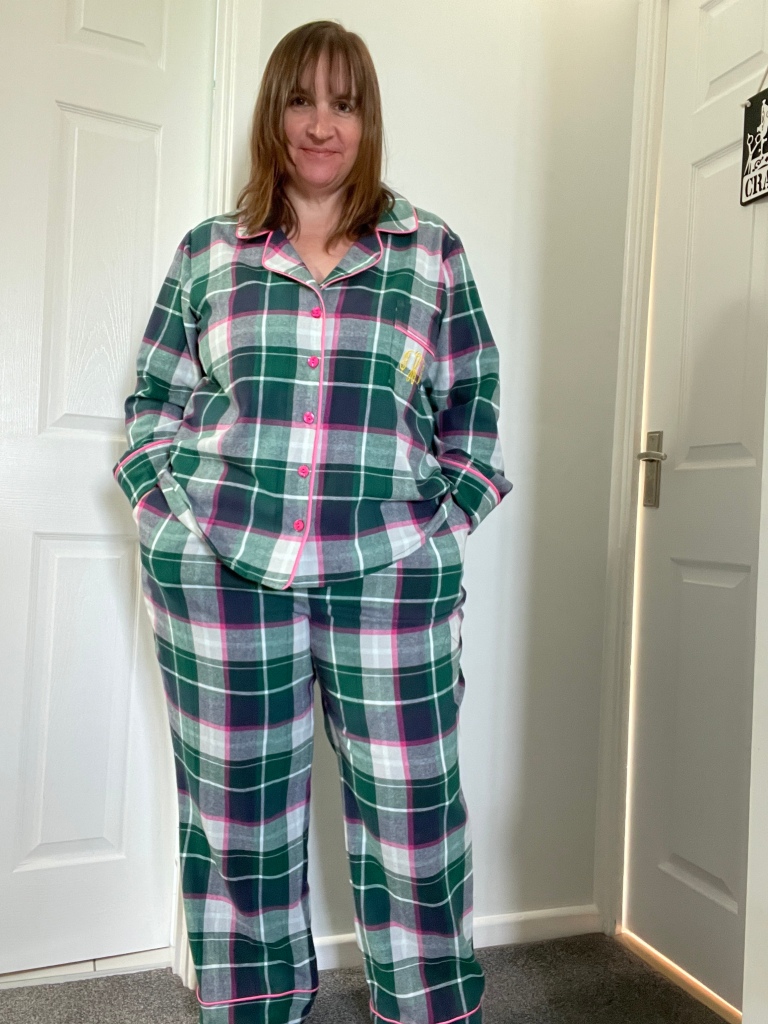
I’m really proud of these. There were a lot of new things to try so I learnt a lot, but still managed to get a completed garment which I am entirely happy with. The standard is really quite high.
There is definitely a light cotton version of these in my future but I need a break from pajamas now, having been working on these for three months!
Happy sewing! Gemma x

Absolutely lovely! I am planning to make them in the coming month so thank you for your review 🙂
LikeLiked by 1 person